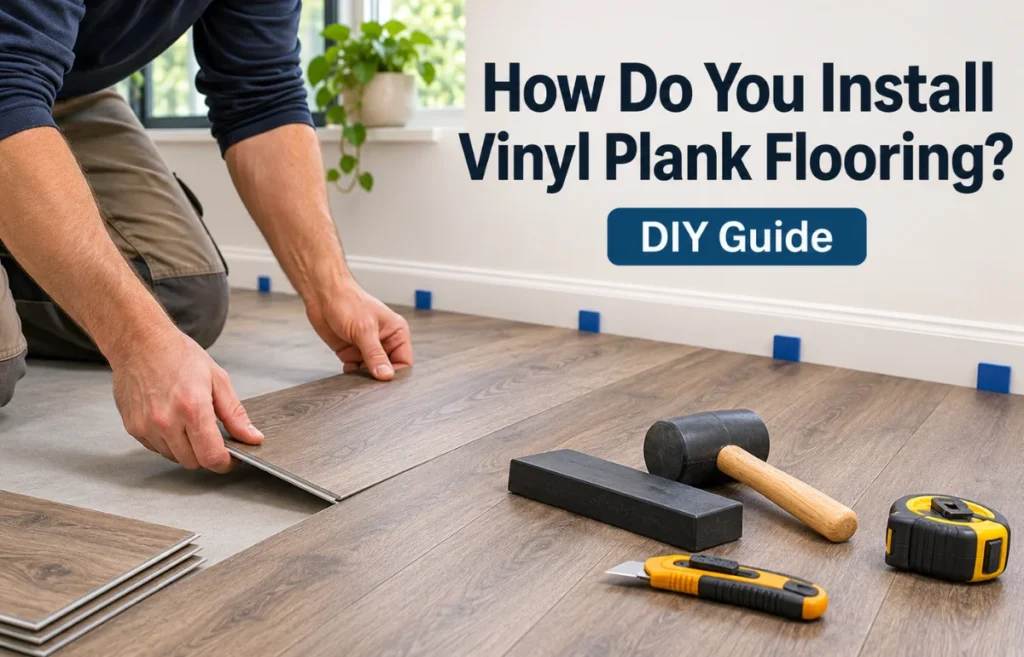
The simplest answer to “how do you install vinyl plank flooring?” is to prepare a clean, dry, flat subfloor, plan the plank layout, leave expansion space around fixed objects, and join the boards row by row before adding trim.
Vinyl plank flooring is a manufactured floor covering designed to look like wood; many luxury vinyl plank (LVP) products have interlocking edges that create a floating floor without nails or glue.
I recommend starting with click-lock LVP for a typical DIY room because its installation is manageable with basic tools. Here’s how I would approach the entire job, including the small checks that prevent expensive do-overs.
Know Which Vinyl Plank You’re Installing
Before picking up a knife, read the installation sheet inside your flooring carton. “Vinyl plank” describes a look and material, not one universal attachment method.
| Installation type | How it stays in place | Best fit for a DIY project |
|---|---|---|
| Click-lock floating LVP | Planks interlock; the floor moves as one surface | My first choice for many bedrooms, living rooms, and suitable kitchens |
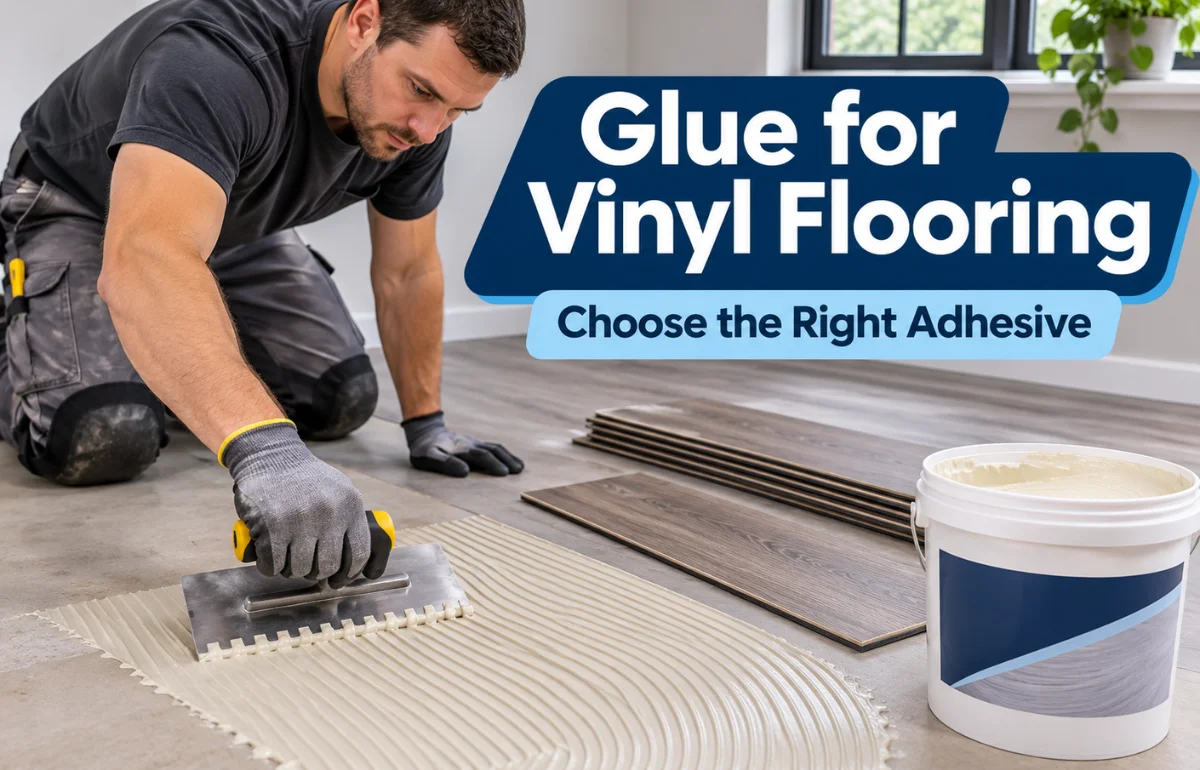
| Glue-down LVP | Approved adhesive bonds each plank to a prepared subfloor | Good for certain commercial or heavy-use applications; demands careful adhesive work |
| Peel-and-stick vinyl plank | Factory-applied adhesive sticks to an approved substrate | Smaller, low-complexity areas where the product and surface are compatible |
This tutorial focuses on click-lock planks, including many rigid-core SPC and WPC products.
If you bought glue-down flooring, follow its adhesive specification, spread rate, open time, and rolling instructions instead.
Gather the Right Tools and Materials
You’ll typically need a tape measure, pencil, straightedge, carpenter’s square, utility knife with spare blades, spacers, a manufacturer-approved tapping block, a rubber mallet, a pull bar, and a level or long straightedge.
A jigsaw or oscillating multi-tool helps with notches and door casings. Add a vacuum, knee pads, safety glasses, hearing protection for power tools, and suitable dust protection when cutting.
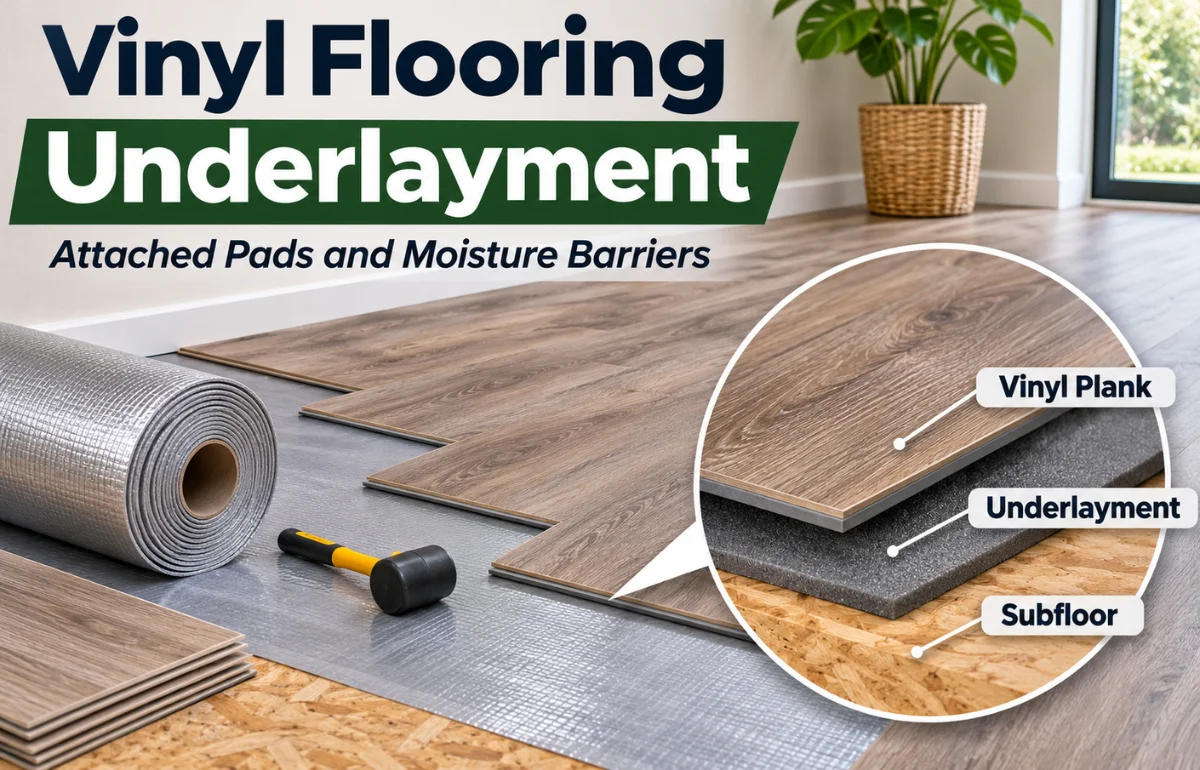
Have matching transition strips, baseboards or shoe molding, and any specifically approved moisture-control material ready.
Some planks have an attached pad and prohibit extra underlayment. Others require a particular vapor barrier on concrete.
Measure the Room and Plan Your Layout
Calculate how many boxes to buy
Measure the length and width of the room in feet, then multiply them to get square footage. Add about 10% for cuts and waste; irregular rooms or diagonal layouts can need more.
For example, a 12-by-10-foot room has 120 square feet. With 10% extra, I would shop for at least 132 square feet.
If each carton covers 20 square feet, that means seven cartons, or 140 square feet.
Choose a direction that suits the room
Planks often look pleasing when they run along the room’s longest dimension or toward its main natural-light source, but neither is a universal rule. The manufacturer’s structural and layout requirements come first.
Open several cartons and mix planks as you work. Inspect every board for chipped locking edges, bends, or visible manufacturing defects before it goes down.
Avoid a skinny final row
Measure the room width, subtract the required wall gaps, and divide by the plank’s visible width. That tells you how wide your final row could be.
Suppose the usable width is 120½ inches and your planks are 7 inches wide. Seventeen full planks leave a final strip just 1½ inches wide.
Instead, cut the first row to 4¼ inches; with 16 full-width rows in between, the last row can also be 4¼ inches. Check the product’s minimum permitted row width.
Prepare the Subfloor Before Installing Vinyl Planks
Remove obstacles and expose the working surface
Move furniture and appliances out, remove the old quarter-round or baseboards if needed, and take up floor coverings that aren’t approved substrates.
Carpet, loose flooring, and cushioned or floating floors generally must go.
If an older floor or adhesive might contain asbestos, don’t sand, scrape, or break it. Have suspect material assessed by a qualified professional before work that would disturb it.
Covering intact material may be an option, but only when both safety requirements and the flooring specification allow it.
Check for flatness, not just level
This distinction saves headaches. Lay a long straightedge across the subfloor in several directions and mark every visible high and low spot.
Different products set different tolerances. For example, some specify no more than 3/16 inch of variation over 10 feet, while others permit different limits. Follow the carton instructions, not a number copied from another brand.
Secure squeaky or loose plywood or OSB first. Use an appropriate floor patch or leveling compound for low areas; reduce high spots using a safe method suited to the substrate.
Check moisture and room conditions
Concrete can release moisture vapor, and wood can deteriorate beneath an otherwise undamaged vinyl surface.
Investigate leaks, dampness, or musty odors rather than covering them up. Test substrate moisture using the method and limits specified by your flooring manufacturer.
Some current rigid-core products require no acclimation when the room meets their temperature conditions; others give explicit storage or conditioning instructions.
Keep the room within the required temperature range before, during, and after installation.
How to Install Vinyl Plank Flooring, Row by Row
1. Mark a straight starting line
Pick a starting wall that makes the doorway and final row manageable. Measure out from the wall, account for your planned first-row width and expansion gap, and snap a straight reference line.
Place the first plank with its locking edges oriented exactly as your product diagram shows. Click systems vary: some angle together, while others have drop-lock short ends.
2. Maintain the perimeter expansion gap
Set spacers at the starting wall and at the ends of each row. Many click-lock products require a ¼-inch gap; others specify 5/16 inch or another measurement. Use the number printed in your instructions.
The gap belongs around walls, pipes, columns, cabinet bases, and other fixed objects—not just the room perimeter.
Don’t pack it with hard filler or pin the planks under permanent cabinetry.
3. Assemble the first row carefully
Lock the short ends together according to the manufacturer’s connection sequence, checking that their top surfaces are flush. Cut the final plank to fit while maintaining the expansion gap at the wall.
I would stop after the first full row and sight down its long edge. If the line wanders, correct it now. The first row establishes the alignment of every row that follows.
4. Stagger the joints in the second row
Start the next row with an appropriately sized cut plank so the short-end seams don’t line up. Six inches is a common minimum end-joint offset, but some manufacturers require more.
Join the long edge and then the short end using the movement specified for your locking system.
Some planks angle into place; others need a carefully positioned tapping block. Never hammer directly against a fragile locking lip.
If a seam won’t close, check for trapped debris or a damaged tongue instead of hitting it harder.
5. Continue across the room
Work a few rows at a time, alternating boards from different cartons.
My preference is to dry-fit tricky pieces near doorways before locking the surrounding rows; it makes a bad cut less costly.
Check that the planks are flat, the seams are tight, and the row remains parallel to your reference line.
Before moving forward, give each completed row a quick inspection from two angles. I also like to pause before reaching a doorway and plan the necessary cut rather than forcing a full board into an awkward space.
6. Cut planks to length and shape
For straight crosscuts on products that allow scoring, measure carefully, draw a square line, score the wear surface with a sharp utility knife, and snap the board along the cut.
Thicker rigid-core products may cut more cleanly with an approved saw. Follow the cutting method listed for your material.
For pipe penetrations and L-shaped corners, measure from two fixed reference points and transfer the shape to the plank.
A jigsaw with a suitable blade gives more control than trying to break a narrow notch.
Keep the specified clearance around every fixed obstruction; matching trim collars can conceal gaps around pipes.
7. Fit planks beneath door jambs
Place a scrap plank and any approved underlayment beside the casing, then use an oscillating tool or handsaw to undercut the wood at the correct finished-floor height.
Slide the shaped plank beneath the casing while maintaining the hidden expansion clearance.
Depending on the locking profile, you may need a pull bar or the manufacturer’s special doorway technique.
Don’t shave off a locking tongue or glue a joint unless the instructions specifically permit that modification.
8. Install the final row
Measure the gap from the installed flooring to the wall at several points, then subtract the required expansion space.
Transfer the measurements to the final planks and rip them lengthwise. If the wall bends, scribe the cut line rather than assuming one uniform width.
Use a pull bar where your hands can’t reach to engage the last row, protecting the board edge as you work. Check that no plank is wedged tightly between opposite walls.
Finish the Edges Without Trapping the Floor
Remove the spacers and install baseboards or shoe molding to cover the perimeter gaps. Attach trim to the wall, never through the floating floor.
At doorways, use compatible T-moldings, reducers, or end caps where required. Secure transition tracks as directed without fastening through the floating planks.
In kitchens and bathrooms, follow the product’s wet-area instructions for flexible silicone around tubs, showers, or other vulnerable edges.
And avoid placing fixed kitchen islands or built-in cabinets on top of a floating installation unless that particular product explicitly allows it.
Stairs deserve their own approved stair-tread or nosing system; don’t simply float ordinary click-lock boards over steps.
Mistakes That Cause Problems Later
I use this quick troubleshooting check because most apparent “flooring failures” begin with preparation or an installation shortcut.
| What you notice | Likely issue | What to check or correct |
|---|---|---|
| Planks click or flex underfoot | A low spot, debris, or unsuitable underlayment | Check flatness and padding requirements; lift affected planks if necessary |
| Short ends begin separating | Incomplete lock, damaged edge, or poor support | Inspect the connection and correct the subfloor before relaying |
| Floor rises near a wall | Missing expansion gap or trapped floating floor | Check wall, trim, and fixed-object clearances |
| Last row looks unusually narrow | Layout wasn’t calculated in advance | Rebalance first and last rows before installation begins |
| Moisture appears under planks | Substrate moisture or a leak | Stop and identify the moisture source before reinstalling |
Can You Install Vinyl Plank Flooring Over Concrete, Tile, or Plywood?
Yes, often—but the condition of the surface matters more than its name.
On concrete, I would prioritize moisture testing, crack assessment, and approved patching. A polyethylene vapor retarder may be required, optional, or prohibited depending on the specific flooring system. Don’t add one blindly.
On plywood or OSB, check for movement, loose fasteners, swelling, and damaged panels. Repair those issues before covering them.
On ceramic tile, check for loose tiles and deep grout joints; some LVP products require grout lines to be patched before installation.
Installing over old vinyl can save demolition, but only if it is secure, smooth, dry, non-cushioned, and explicitly approved.
Never place new floating LVP directly over carpet or another floating floor just to save time.
How Long Does Installation Take, and When Can You Use the Floor?
For a simple bedroom with a ready subfloor, click-lock installation might fit into a day of DIY work.
Repairing a wavy floor, waiting for patch to cure, or fitting multiple doorways can extend the project. I would allow more time for preparation than the packaging photography suggests.
Many floating click-lock products permit foot traffic immediately after installation, once trim and transitions are safe.
Glue-down flooring is different: adhesive cure periods and restrictions on moving furniture vary. Check the exact product guidance before returning heavy appliances or rolling furniture across the new surface.
To keep the floor looking good, sweep grit regularly, use a damp—not soaking—mop with a recommended cleaner, and put protective pads beneath furniture.
Avoid steam cleaning unless your floor manufacturer specifically permits it.
A Good Installation Starts Before the First Click
If you’re still wondering how do you install vinyl plank flooring without ending up with gaps or uneven seams, focus on three things: verify the subfloor, calculate the first and last rows, and follow the locking instructions for your exact product.
Those choices matter more than how quickly you can cover the room.
Before buying materials, measure the space and download the installation manual for the plank you’re considering. That’s the smartest first move toward a floor that looks properly finished.
Frequently Asked Questions
Do you need underlayment for vinyl plank flooring?
Not always. Many click-lock planks include attached padding and prohibit a second layer; use only the underlayment or moisture barrier approved for your flooring.
Where do you start laying vinyl plank flooring?
Start at a wall that allows an even layout and sensible doorway cuts. Use a straight reference line, since the wall itself may not be perfectly straight.
How much space should you leave around vinyl plank flooring?
A ¼-inch expansion gap is common, but some products require more. Check the manufacturer’s exact clearance around walls and fixed objects.
Can you install vinyl plank flooring directly over concrete?
Usually, yes, if the concrete is dry enough, flat, clean, and structurally suitable. Test moisture and follow any required vapor-barrier instructions.
Can you walk on vinyl plank flooring right after installation?
Many click-lock floating floors allow immediate foot traffic. Glue-down products may require curing time, so follow the product’s installation instructions.