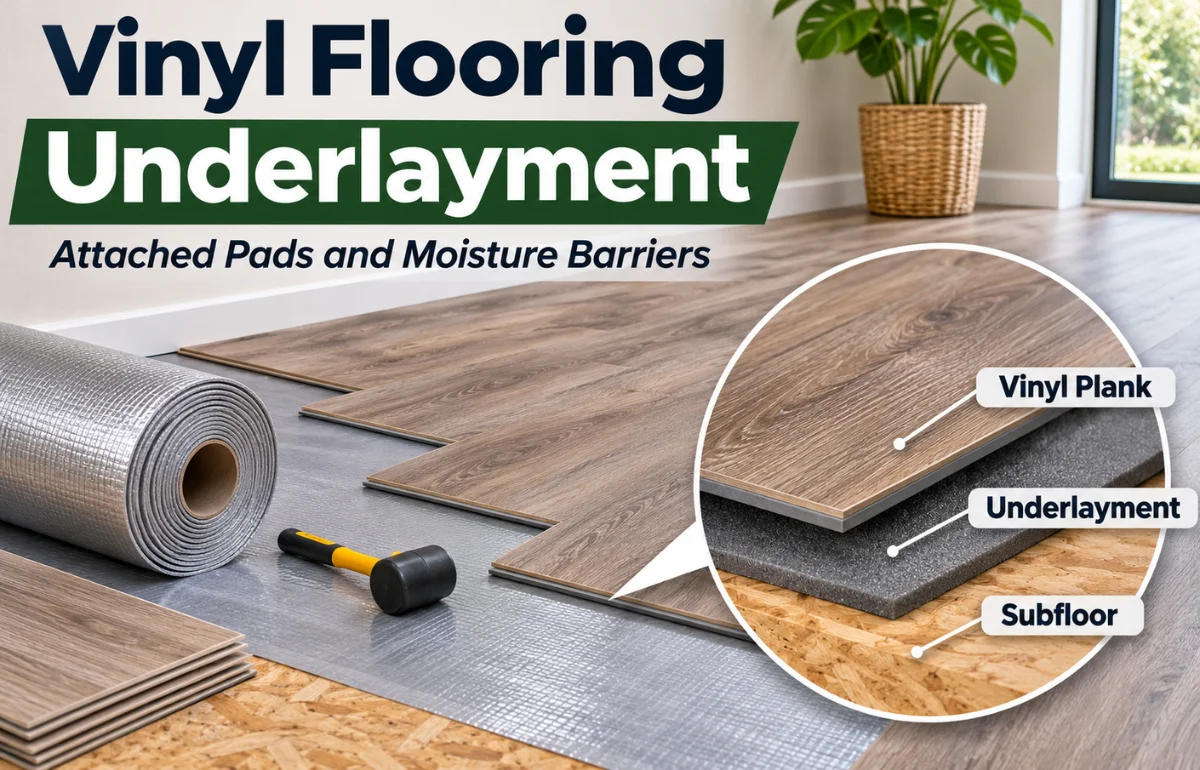

Laminate flooring on walls means using decorative laminate floor planks as a vertical wall covering instead of laying them underfoot. The planks usually have a photographed wood-look surface, a protective wear layer, and a fiberboard core. Installed correctly, they can create a warm accent wall, a paneled headboard backdrop, or a distinctive wainscot without the cost of solid wood cladding.
The catch is that a click-lock floor is designed to float, while wall-mounted planks must be securely supported against gravity. Not every laminate product is approved for this use, and a floor installation manual is not a wall installation manual. I recommend choosing a product with explicit wall-mounting instructions before deciding on adhesive, nails, or layout.
Can You Put Laminate Flooring on Walls?
Yes, some laminate flooring can be installed on interior walls, provided the manufacturer permits it and the wall is dry, flat, sound, and suitable for the specified mounting system.
Here’s a distinction I would never skip: wall approval is product-specific. Armstrong Flooring publishes wall-installation instructions for designated laminate products, including horizontal and vertical arrangements. Pergo publishes instructions for a particular vertical wainscot-style application with its own height, substrate, and climate limits.
A floor’s abrasion rating or water-resistant marketing label doesn’t prove it can be glued or nailed upright. Before purchasing, check the exact collection’s technical documentation, wall-use warranty, acceptable substrate, approved fasteners, expansion gaps, and restrictions near heat or water.
Why Use Laminate for an Accent Wall?
A consistent printed surface can provide rustic oak, pale ash, smoked walnut, or painted-wood effects, while the plank format creates convincing lines and shadows.
Laminate is also relatively easy to wipe clean in a dry living space. Compared with wallpaper, it adds physical texture and a more substantial edge detail. Compared with solid wood, it generally offers predictable factory finishes, although the core is vulnerable when moisture reaches cut edges.
I especially like the idea for a single focal surface rather than four fully clad walls. One carefully placed feature usually makes the grain look intentional. Covering every wall can make a small room feel visually crowded, and it adds more joints, trim work, and material weight.
Laminate can highlight a crooked wall. It can be difficult to remove without drywall repairs, and its surface is not designed to support shelving, televisions, or grab bars.
The Best Places to Use Laminate Wall Cladding
Behind a Bed or Sofa
A bedroom headboard wall is a strong candidate because it is usually dry and away from direct splashes. Horizontal boards can make the wall look wider, while vertical boards emphasize ceiling height. I would keep adjacent paint quiet so the grain provides the contrast.
A living room sofa wall works for the same reason. For a subtle result, choose a matte or low-sheen plank rather than a glossy, heavily patterned surface.
In an Entryway or Home Office
A short section of decorative wall paneling can define an entry bench or a desk nook without rebuilding the room. Wainscoting is especially useful when you want an architectural detail but don’t want a full-height wood-look wall.
Sharp blows can chip edges, especially at exposed outside corners.
Where I Would Avoid It
I would avoid shower walls, tub surrounds, damp basements, and areas with recurring condensation or leaks. Even water-resistant flooring may not be approved as a waterproof wall assembly. A kitchen sink backsplash is also a poor assumption unless the exact product and wall system explicitly allow it.
Keep laminate away from fireplace hearth surrounds, required heat clearances, and other hot surfaces. Don’t install floor planks overhead just because they seem light enough. Interior-finish fire rules may also apply, depending on local codes and occupancy.
Ceiling and sloped-surface applications need their own approved systems, attachment design, and code review.
Choosing Laminate That Will Look Right on a Wall
Start with written wall-use approval, then make your aesthetic choices. Plank thickness, locking profile, weight, backing material, and finish can all affect installation. A thin plank is not automatically safer, and a thicker plank is not automatically stronger once it is attached to drywall.
Bring home a sample and hold it upright next to the room’s paint at morning and evening light. A wood pattern that looks soft on the floor can appear surprisingly busy at eye level. Wide planks make a bold statement; narrower planks create more lines and a traditional paneled character.
I also look at the repeated print patterns. If identical knots line up in neighboring rows, the artificial repetition can become obvious. Mixing boards from several cartons before fixing them helps distribute those patterns.
For materials sold in the United States, look for TSCA Title VI compliance where the product contains regulated composite wood. The EPA explains that this labeling relates to formaldehyde-emission standards. It’s a useful purchasing check, not a guarantee that the entire installed room is emission-free.
Horizontal vs. Vertical vs. Diagonal Planks
Plank direction changes the room almost as much as color does.
| Layout | Visual effect | Installation consideration | Best suited to |
|---|---|---|---|
| Horizontal | Makes a wall appear broader | Plan first and last row widths; stagger end joints | Sofa and TV feature walls |
| Vertical | Draws the eye upward | Check height limits and support at plank ends | Bedrooms and narrow alcoves |
| Diagonal | Adds movement and a custom look | More angled cuts and waste | Small statement sections |
| Wainscot | Creates a lower-wall panel detail | Needs a neat top cap and corner trim | Entryways and offices |
I suggest dry-laying several rows on the floor before making the first cut. Balance the first and last boards so you don’t end with an awkward sliver. At corners, decide whether the edge will be concealed by matching trim, a painted molding, or a deliberately contrasting profile.
How to Mount Laminate Flooring on a Wall
1. Confirm the Product and Wall Are Compatible
Read the wall-installation document for your exact laminate model. For example, Armstrong’s published instructions for specified products describe premium urethane construction adhesive combined with brad nails. Pergo’s vertical-wainscot document instead specifies silicone adhesive caulk and brad nails. These are different systems, not interchangeable universal recipes.
Check the wall for loose paint, crumbling plaster, bowed drywall, moisture marks, and peeling wallpaper. Repair problems first. A clean, sound, dry surface is essential; covering a leak simply hides evidence while the damage continues.
2. Locate Studs and Plan the Layout
Use a stud finder, confirm stud positions, and mark them lightly. Check for electrical wiring and plumbing before driving fasteners. Lay out the rows so the most visible edge has a clean finish, and measure the room in several places because ceilings and floors are rarely perfectly parallel.
Mark a true level or plumb reference line rather than trusting the baseboard. For a vertical layout, check the manufacturer’s maximum permitted height and orientation before buying material.
3. Follow the Approved Adhesive and Fastener Pattern
Apply only the adhesive named or approved in the relevant wall instructions, and follow its specified coverage, open time, ventilation, and cure requirements. Don’t assume ordinary flooring glue, grab adhesive, or double-sided tape will hold a heavy plank vertically.
Where the system requires nails, use the prescribed gauge, length, spacing, and fixing locations. Some manufacturers call for hidden fastening through the groove and visible fastening only where trim will cover the holes. Don’t drive fasteners through locking joints unless the instructions expressly tell you to; damaged joints can affect fit.
Click-lock edges align boards; they do not replace wall attachments. Each installed section needs the support specified by the manufacturer.
4. Allow Movement and Finish the Edges
Laminate’s fiberboard core responds to changing humidity. Leave the perimeter movement clearance specified by the wall guide, even if trim will eventually cover it. For example, Armstrong’s stated detail includes a quarter-inch perimeter gap for its described wall system, whereas Pergo’s wainscot instructions specify different clearances at different edges.
Use baseboards, chair rails, corner molding, or compatible finishing profiles to conceal the allowances without pinning the planks rigidly. Carefully cut around receptacles, and have electrical box extensions or device adjustments handled as required by applicable electrical rules. Turn off power before work near outlets.
Mounting Methods Compared
This is where many online tutorials oversimplify the job. The question isn’t merely which adhesive feels strongest; it’s which complete assembly the plank manufacturer has tested or authorized.
| Method | Potential benefit | Main limitation | My recommendation |
|---|---|---|---|
| Approved adhesive plus brad nails | Holds planks while adhesive cures | Requires a suitable substrate and accurate fastening | Use when explicitly specified |
| Adhesive only | No visible fastener holes | Can fail if unapproved for the plank or surface | Don’t improvise without written approval |
| Fasteners only | Avoids adhesive mess | May split profiles or permit movement | Use only in a documented system |
| Plywood backing or battens | Can provide a suitable fixing base | Adds thickness, cost, and detailing | Consider only with an approved attachment design |
If a wall is uneven, adding properly secured plywood can sometimes create a flatter base, but it doesn’t automatically make a non-approved laminate system acceptable. It can also change the position of switches, door trim, and skirting.
Five Details That Make a Laminate Accent Wall Look Custom
Balance the Cuts Before Starting
Instead of beginning with one full board and accepting whatever remains at the other edge, calculate the total number of rows. Splitting the leftover width between the first and last rows produces a more deliberate frame.
Map the Outlets Before Ordering
Outlets may interrupt a pattern, especially in a narrow panel. I sketch their positions on a simple wall elevation. This also highlights any device boxes that may need to be brought flush with the new finished surface by a qualified person.
Design for Future TV Mounts
Never rely on the laminate skin to carry a television. Plan a structural mounting location, such as studs or properly designed blocking, and pass appropriate fasteners through clearance holes in the decorative covering. Check both the bracket instructions and the plank manufacturer’s limits.
Think About Reversibility
A glued-and-nailed wall is a relatively permanent finish. If you’re renting or expect to redecorate soon, freestanding panels or purpose-made removable wall products may be a better choice than attaching flooring to drywall.
Check the Room’s Moisture History
An exterior wall that feels dry today may have a recurring condensation problem in winter. I would inspect around windows, baseboards, and previous stain marks before covering the surface. Trapping moisture behind cladding can conceal damage and complicate repairs.
How Much Laminate Do You Need?
Calculate wall area by multiplying width by height, then subtract large openings if the layout makes that practical. Allow for offcuts and mistakes; roughly 10% extra is a useful starting point for a simple rectangle, while diagonal patterns or many obstructions can require more.
For example, a wall measuring 12 feet wide by 8 feet high covers 96 square feet. Adding 10% brings the purchase target to about 106 square feet. If your chosen cartons cover 20 square feet each, you’d need six cartons, or 120 square feet, because flooring is generally bought in complete boxes.
Your total project cost also includes approved adhesive, nails, trim, wall repairs, electrical adjustments, and possibly professional labor.
I would compare the total installed cost with wood slat panels, MDF wall paneling, and peel-and-stick decorative products, rather than comparing plank price alone.
Common Problems and How to Prevent Them
Peaking or buckling: This may result from inadequate movement space, humidity swings, or an unsuitable fixing approach. Check the permitted room conditions and perimeter details instead of trying to force swollen planks flat.
Uneven seams: Often the root issue is a wavy wall, poorly aligned reference line, or debris caught in the locking edge. Correct the surface before continuing with more rows.
Loose edges: An adhesive may be incompatible with the plank backing, wall finish, or curing conditions. Don’t simply add random screws; investigate the manufacturer’s mounting requirements.
A busy, patchwork appearance: Too many repeated knots or a badly staggered joint pattern can make an otherwise good installation look artificial. Mix cartons and inspect the arrangement from the doorway before attaching anything.
Caring for a Laminate Feature Wall
Dust with a soft microfiber cloth, and use a lightly damp cloth only when the product’s care instructions permit it. Avoid wet washing, steam cleaning, abrasive pads, and letting water sit on seams.
Inspect joints and perimeter trim occasionally, particularly after seasonal humidity changes. If you notice swelling, a musty odor, or staining, investigate the moisture source rather than covering the evidence with caulk.
Install heavy shelves, mirrors, and televisions into suitable structural backing, not merely through the laminate finish.
Frequently Asked Questions
Can you glue laminate flooring directly to drywall?
Only if the exact product’s wall instructions permit that drywall condition and adhesive. Some approved systems also require brad nails, so glue alone may not be enough.
Do you need underlayment for laminate flooring on walls?
Usually not in the same way as a floating floor. Follow the wall guide; a plank’s pre-attached pad may be handled differently by different manufacturers.
Can laminate flooring be installed vertically on a wall?
Yes, with a wall-approved product and mounting system. Check height limits, plank orientation, and support requirements before installation.
Is laminate flooring on walls waterproof?
No. A water-resistant floor finish doesn’t make a wall assembly waterproof, especially at cut edges, joints, and penetrations.
Can you hang a TV on a laminate accent wall?
Yes, if the mount is anchored into suitable studs or structural backing, not the laminate itself, and the chosen wall system permits the necessary penetrations.
Final Thoughts
Laminate flooring on walls can give an ordinary room the warmth of timber and the clean rhythm of paneled design. I would start with one dry, visible accent wall, choose a documented wall-approved product, and plan the fastening and trim before spending on planks. A lasting result depends on the details behind the finish.