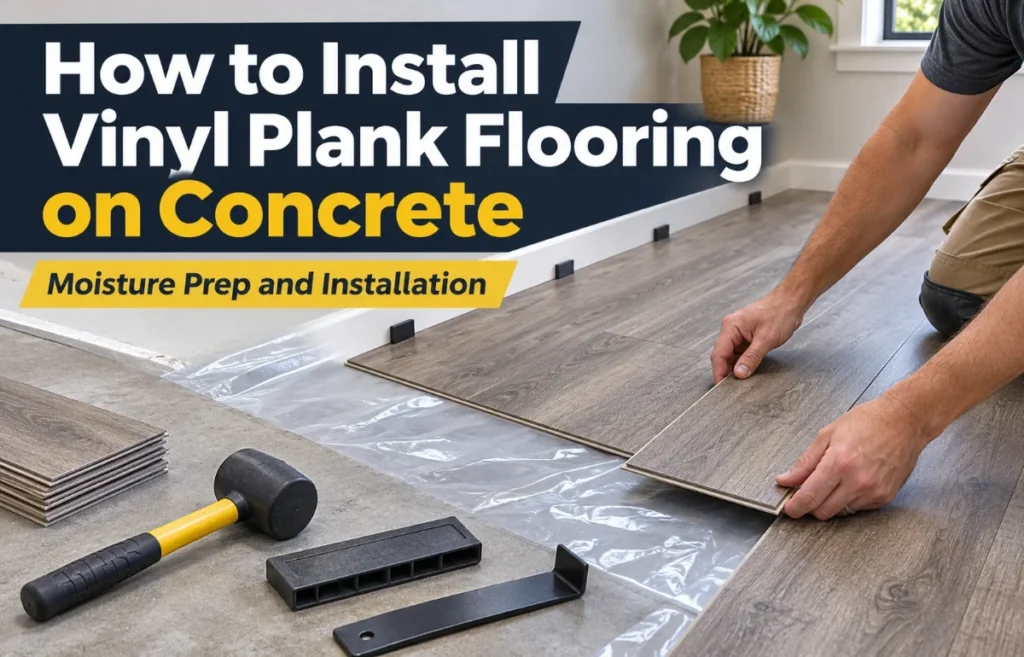
Learning how to install vinyl plank flooring on concrete starts with the slab, not the planks. First, check the concrete for moisture, cracks, and uneven spots. Then clean and flatten the surface, add a moisture barrier if your flooring manufacturer requires one, and connect the planks while leaving the specified expansion space around walls. Most DIY projects use click-lock luxury vinyl plank (LVP), which floats over the concrete without nails or glue.
The process is straightforward once the slab passes inspection. The part I would never rush is moisture control: a waterproof plank can survive a spill on top, but that doesn’t mean damp concrete underneath is harmless.
Here’s how I would assess the slab, choose the right installation method, and get a floor that feels solid underfoot.
Can You Put Vinyl Plank Flooring Directly on Concrete?
Yes. A properly prepared concrete slab is a suitable base for many vinyl plank products, including rigid-core SPC and WPC flooring. Concrete’s strength is an advantage, but its porosity introduces a challenge that wood-subfloor tutorials often miss.
Water vapor can move through concrete even when its surface looks completely dry. On a basement or ground-level slab, moisture may also come from poor exterior drainage, plumbing leaks, or missing vapor protection beneath the concrete.
Trapped moisture can affect adhesives, promote odor or microbial growth, and damage adjacent materials.
My rule is simple: don’t confuse a plank’s waterproof surface with a waterproof flooring system.
The product instructions decide whether you need a separate barrier, what moisture readings are acceptable, and whether the planks can be installed in that room at all.
Choose Your Installation Method Before Buying Supplies
| Installation method | Best fit | Concrete-specific consideration |
|---|---|---|
| Floating click-lock LVP | Most DIY rooms and many basements | Requires a flat slab, acceptable moisture readings, and the specified vapor retarder if required |
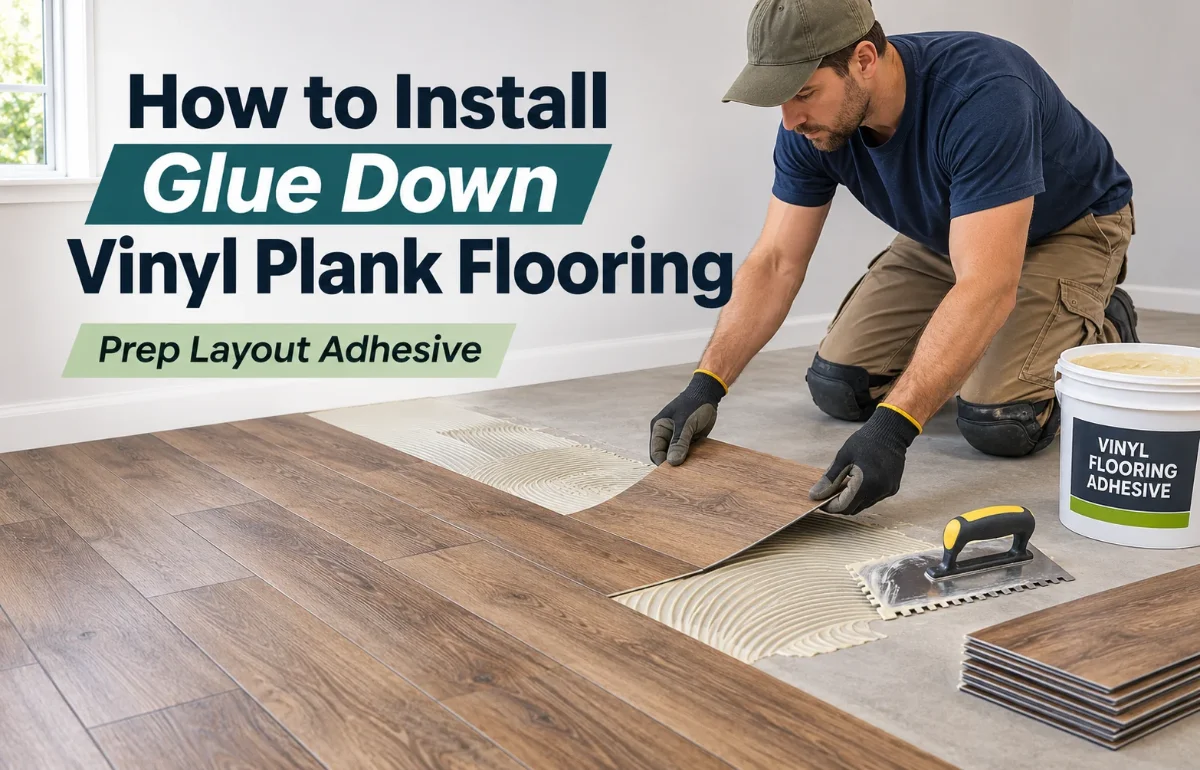
| Glue-down vinyl plank | Areas where the chosen product calls for permanent adhesion | Requires adhesive-compatible concrete, moisture and pH checks, and careful surface preparation |
I focus mainly on floating click-lock flooring below because it’s the common homeowner-friendly option.
Glue-down flooring has different rules; a polyethylene sheet cannot be placed between the adhesive and the concrete unless a manufacturer has designed an approved system for it.
Tools and Materials I Would Have Ready
For a typical floating installation, gather vinyl planks, a tape measure, pencil, chalk line, long straightedge or level, spacers, tapping block approved for the locking system, pull bar, rubber mallet, and utility knife.
Depending on plank construction, you may also need a jigsaw or fine-tooth saw.
For concrete preparation, plan on a vacuum, scraper, compatible concrete patch or self-leveling compound, primer if required, and appropriate moisture-testing equipment.
Have 6-mil polyethylene sheeting and seam tape ready only if the product specifies that type of barrier. Wear eye protection, knee pads, and suitable protection when cutting or preparing the slab.
One purchase I wouldn’t make automatically is extra foam underlayment. Many LVP products already have an attached pad, and adding a second soft layer can overstress their locking joints.
1. Inspect the Concrete Before You Cover It
Clear the room and remove baseboards or quarter-round trim if possible.
Look carefully around exterior walls, plumbing penetrations, old carpet tack strips, and dark patches. These areas often reveal problems that disappear once furniture is back in place.
Check for crumbling concrete, loose coatings, standing water, salt-like white deposits (efflorescence), or a recurring musty smell.
A hairline, stable crack may be repairable; a widening crack, vertical displacement, or active water seepage needs professional evaluation before flooring goes down.
If you are removing old resilient flooring, don’t sand or grind unidentified tiles or black adhesive. Older materials may contain asbestos. Have suspect materials assessed and handled appropriately.
Is the slab new enough?
Concrete doesn’t become flooring-ready just because it is hard enough to walk on.
As one manufacturer example, CALI’s rigid-core instructions call for a fully cured slab at least 60 days old, preferably 90.
That’s not a universal waiting period or a substitute for testing. I would follow the exact flooring manual and verify moisture, regardless of slab age.
2. Test Concrete Moisture Instead of Guessing
This is the decision point that matters most when installing vinyl plank flooring over concrete.
A slab can look pale and dry while holding enough internal moisture to exceed a flooring system’s limits.
The two common professional tests answer different questions:
| Test | What it measures | What to know |
|---|---|---|
| ASTM F2170 in-situ relative humidity | Moisture condition inside the slab | Useful when a manufacturer specifies an internal RH limit; requires correctly installed probes |
| ASTM F1869 calcium chloride | Moisture vapor emission from the bare slab surface | Results are expressed as pounds per 1,000 square feet per 24 hours; applicable only where the test method and product permit it |
A handheld concrete moisture meter is useful for finding suspicious areas, but it isn’t automatically an acceptable pass/fail test.
Likewise, taping a square of plastic to the floor may reveal visible condensation, yet a dry result cannot certify the slab for LVP.
I would document test locations and readings, especially along exterior walls and near previous leaks.
ASTM International explains that moisture results describe conditions at the places and times tested; they don’t guarantee the slab will never get wetter.
What moisture level is safe?
There is no single RH percentage that makes every vinyl plank safe.
Each plank, adhesive, and moisture-control system has its own limit. Compare the actual test results with the written instructions for your exact product, not a number quoted in a general DIY video.
If readings exceed the limit, stop.
Address the moisture source, allow drying where appropriate, or ask a qualified flooring professional about an approved moisture-mitigation system.
A plastic sheet is not a cure for active seepage or hydrostatic pressure.
3. Make the Concrete Flat, Smooth, and Clean
The goal is flatness, not necessarily a perfectly level room.
Vinyl planks can follow a gentle slope, but a sudden hump or hollow lets the floor flex and strains the locking edges.
Set a long straightedge on the concrete in several directions and mark any gaps beneath it.
Some product manuals permit no more than 3/16 inch of deviation across 10 feet; others have different tolerances. Use the specification printed for your flooring.
Grind high spots using appropriate dust controls, and fill low spots with a concrete-compatible patch or self-leveling product.
Follow that compound’s mixing, primer, minimum-thickness, curing, and moisture requirements. Don’t assume a thin layer will hide a deep dip.
Concrete grinding can release hazardous respirable silica dust. If you lack the equipment and training for dust-controlled grinding, hire a professional rather than using an unshrouded grinder indoors.
Finish by vacuuming thoroughly.
I pay particular attention to the edges and corners: one pebble under rigid-core flooring can create an irritating click every time someone walks over it.
4. Install the Correct Vapor Barrier, If Required
A moisture barrier and a cushioned underlayment do different jobs.
The first limits vapor moving upward from the slab; the second may add sound reduction or comfort. They aren’t interchangeable.
For example, CALI’s Classic SPC guidance requires a moisture barrier such as 6-mil polyethylene over concrete and advises overlapping sheets at least 6 inches and taping the seams.
Other manufacturers may approve a different membrane or specify a particular integrated underlayment system.
If your flooring requires polyethylene, lay it over the clean concrete, overlap and seal the seams as directed, and avoid tears or punctures.
Follow the product’s instructions for treatment at walls and penetrations. Don’t add thick foam on top just because you want a softer floor.
One subtle point: a barrier immediately beneath floating flooring is not the same as a vapor retarder installed under the concrete slab during construction.
It also won’t correct water entering through cracks, walls, or a failed drainage system.
5. Plan the First and Last Rows
Measure the room’s width across the intended plank direction.
Divide it by the exposed width of one plank to estimate how many full rows will fit. If the final row would be very narrow, trim some width from the first row so the two edges look balanced.
I like to dry-lay a few planks near the doorway and the longest visible wall before cutting anything.
This reveals whether the flooring will leave awkward slivers beside cabinets, door frames, or a fireplace.
Mix planks from several boxes to distribute repeated patterns and color variation.
Order roughly 5–10% extra material for ordinary rooms; complex layouts may need more.
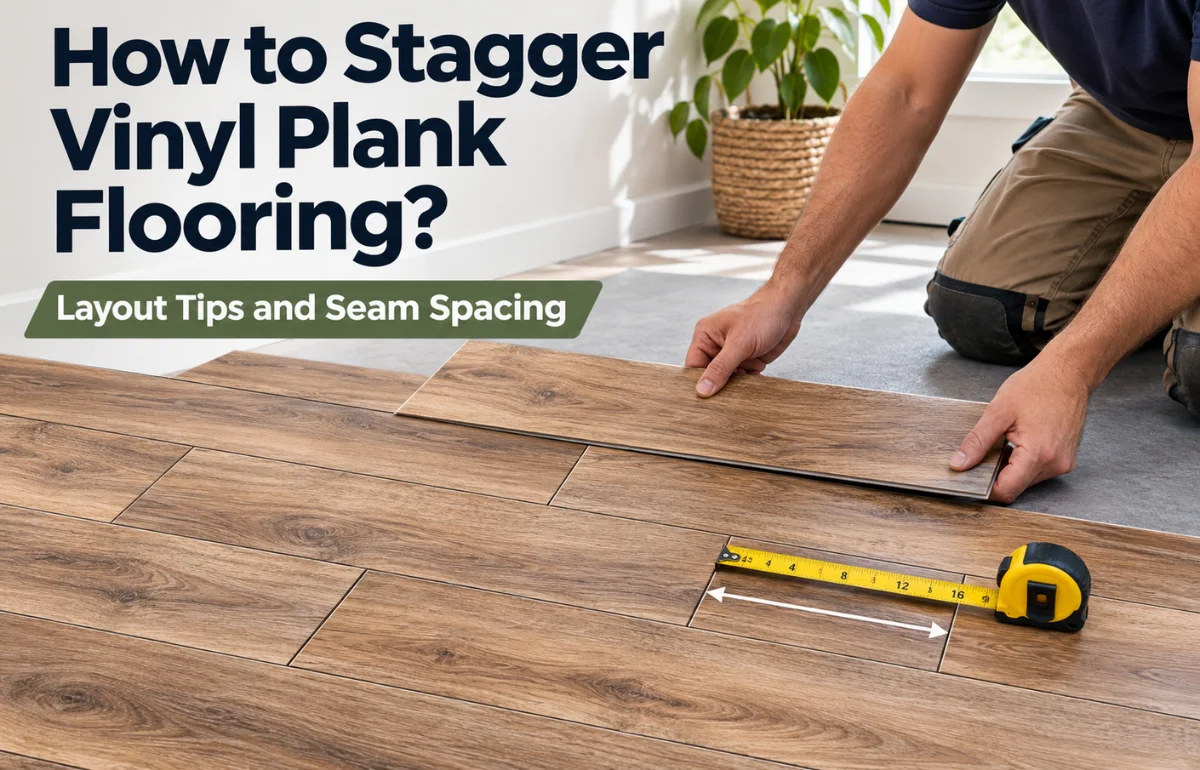
Check whether the manufacturer specifies a minimum end-joint stagger and plank length.
Random-looking joints are attractive, but that minimum offset protects the locking system.
6. Lay the Click-Lock Planks Across the Concrete
Start along a straight reference line rather than trusting a visibly crooked wall.
Position spacers to maintain the required perimeter expansion gap; 1/4 inch is common, but the product instructions take priority.
Connect the first row using the exact angle-and-lock sequence shown by the manufacturer.
Different click profiles engage differently. Some lock along the long side first; others use a drop-lock short end.
Don’t hammer the decorative edge or force a joint that isn’t seating correctly.
For the next rows, stagger the end joints according to the specified minimum.
Use the offcut from a previous row only if it is long enough and produces an acceptable stagger.
Keep checking that the rows are straight and the seams are fully closed.
Cut planks by scoring and snapping only when the flooring construction allows it. Rigid planks or detailed cuts may require a saw.
At pipes and door frames, leave clearance for movement and conceal it with suitable trim, rather than squeezing the flooring tightly against fixed surfaces.
If a seam starts opening or a plank rocks, stop and investigate before continuing.
The cause may be debris, an incompletely engaged lock, a distorted plank, or an uneven patch of concrete. Laying another six rows won’t solve it.
7. Finish Edges Without Pinning the Floating Floor
Measure the final row at several points because walls are rarely perfectly parallel.
Rip each plank to fit while preserving the required gap at the wall. A pull bar can help close the final joints without damaging their edges.
Refit baseboards or quarter-round trim to the wall or existing trim, not through the floating planks.
Install appropriate transition profiles at doorways or where floor coverings change, following the manufacturer’s rules for large areas and movement breaks.
Avoid fastening permanent cabinets or kitchen islands through a floating floor. Heavy fixed installations can restrict its movement.
Where a manufacturer’s instructions prohibit flooring beneath fixed cabinetry, install the cabinets first and fit the flooring around them.
What Changes for Glue-Down Vinyl Plank Flooring?
With glue-down LVP, slab preparation matters even more because the adhesive bonds directly to the surface.
Residual paint, curing compounds, dust, alkalinity, or excessive moisture can weaken that bond.
I would use only the adhesive, trowel notch, substrate primer, moisture system, and rolling procedure approved for the chosen flooring.
Observe the adhesive’s working time and any required waiting period before traffic. Do not treat a floating-floor installation tutorial as a glue-down specification.
If moisture readings are borderline or the concrete has old adhesive residue, I would ask the flooring supplier or installer for a complete compatible system rather than mixing products from different brands.
Concrete-Specific Mistakes That Cause Problems Later
The most expensive failures usually begin before the first plank is clicked into place. Watch for these avoidable errors:
- Skipping moisture testing because the slab looks dry or the plank says “waterproof.”
- Installing over a hump that makes the boards flex and stresses their joints.
- Assuming a 6-mil sheet fixes standing water, leaks, or hydrostatic pressure.
- Adding soft underlayment beneath an attached-pad product without approval.
- Forgetting expansion gaps around walls, pipes, thresholds, and fixed objects.
- Covering fresh leveling compound before it meets its drying and curing requirements.
A useful habit is to photograph the bare slab, marked low spots, test results, and barrier seams before covering them.
Those records make troubleshooting easier and may support a future warranty conversation.
When I Would Bring in a Flooring Professional
A routine floating installation is realistic for a careful DIYer.
I would bring in help for recurring dampness, a basement that floods, significant slab movement, uncertain asbestos-containing materials, large-area leveling, or moisture results beyond the product’s allowed range.
It’s also worth getting advice when underfloor heating is present.
Both the heating system and LVP manufacturer must approve the combination, including operating temperatures and warm-up procedures.
Frequently Asked Questions
Do I need underlayment for vinyl plank flooring on concrete?
Only if your particular flooring requires or permits it. Some planks have attached padding, while concrete installations may still require a separate thin vapor barrier.
Can I install vinyl plank flooring over an uneven concrete floor?
Only after correcting variations that exceed the manufacturer’s flatness tolerance. Humps and dips can lead to movement, noise, and damaged joints.
Do I need a moisture barrier under vinyl plank flooring on concrete?
Often, especially for floating floors, but follow the exact product manual. A barrier does not replace moisture testing or fix active water intrusion.
How long should concrete dry before installing vinyl plank flooring?
There is no universal number of days. Follow the flooring manufacturer’s minimum curing period and confirm the slab meets its moisture-test limits.
Can you put vinyl plank flooring on a concrete basement floor?
Yes, if the basement is dry, the slab passes moisture testing, and the selected flooring is approved for below-grade use. Fix leaks first.
A Floor That Lasts Starts Below the Planks
Knowing how to install vinyl plank flooring on concrete is less about clicking boards together and more about checking what lies beneath them.
Test the slab, correct its flatness, choose the right moisture-control system, and follow the precise installation instructions for your product.
Before ordering flooring, download that product’s installation manual and compare it with your concrete conditions. That’s the next step most likely to save you money and rework.