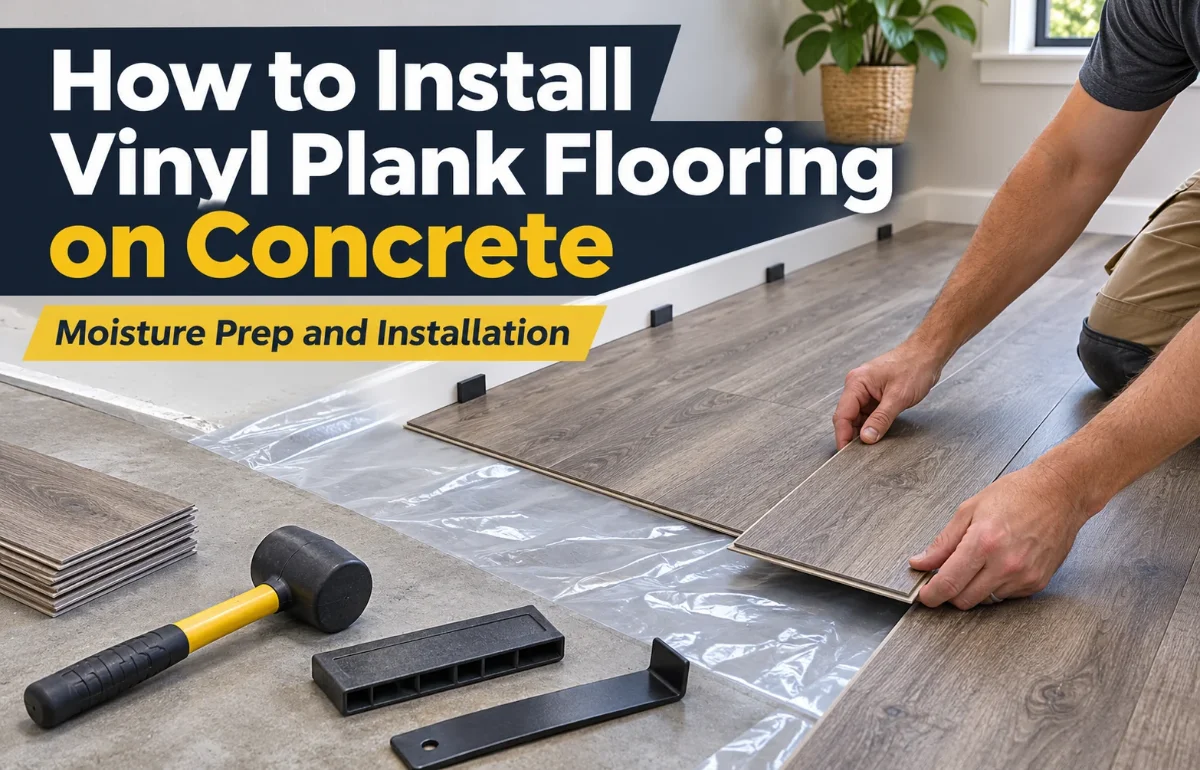
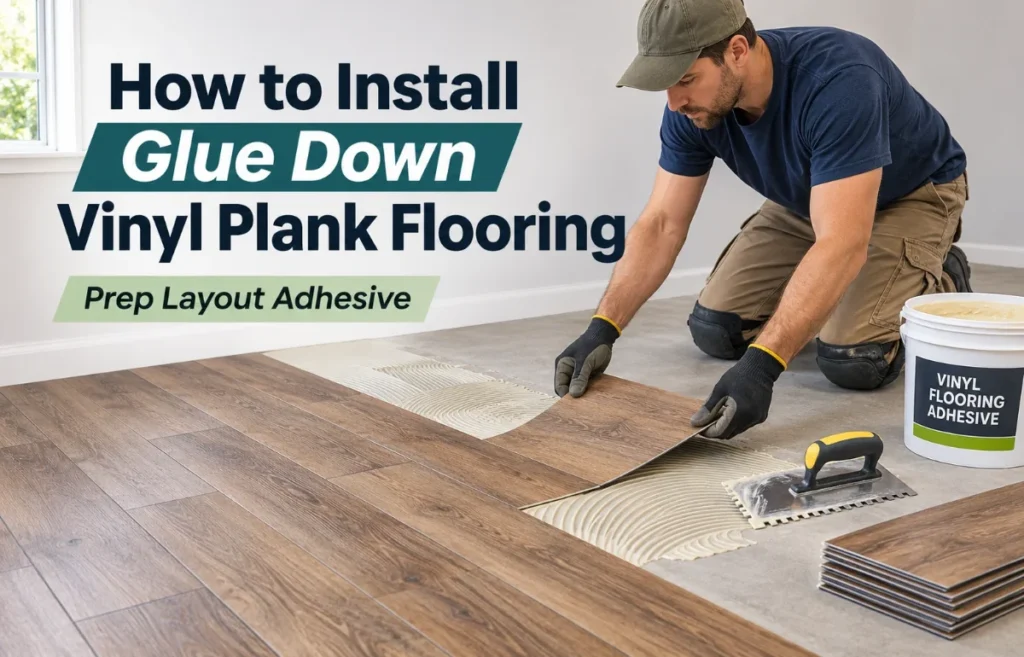
Learning how to install glue down vinyl plank flooring starts with preparing a smooth, clean, dry subfloor. Next, plan your plank layout, spread an approved flooring adhesive in manageable sections, position the planks tightly together, and roll the surface to secure the bond. Allow the adhesive to cure before normal foot traffic or moving furniture back.
Glue-down luxury vinyl plank (LVP), sometimes called dry-back vinyl, attaches directly to the subfloor rather than locking together and floating above it. That difference changes almost everything about installation: moisture testing, adhesive selection, working time, and even how you correct a crooked row.
I consider glue-down LVP a good choice when a low-profile, firmly bonded floor matters more than the speed of a click-lock installation. The key is getting the preparation right before opening the glue.
Glue-Down Vinyl Plank vs. Click-Lock: What’s the Difference?
With glue-down flooring, each plank bonds to the prepared substrate. Click-lock planks connect through interlocking edges and generally float as one continuous surface. You cannot assume the installation instructions for one system apply to the other.
| Feature | Glue-down vinyl plank | Click-lock vinyl plank |
|---|---|---|
| Attachment | Adhesive bonds each plank to the subfloor | Planks lock together and usually float |
| Subfloor preparation | Very smooth surface needed; imperfections may show through | Also requires flatness, but some cores hide small surface texture better |
| Installation pace | More preparation and adhesive timing | Generally faster, with no adhesive curing |
| Floor height | Often thinner and lower profile | Typically thicker, especially with an attached pad |
| Repairs | Individual planks may be removed and replaced with care | May require unlocking rows or a specialized repair |
| Movement and loads | Firm bond can suit busy spaces when adhesive is correctly specified | Movement limits and heavy fixtures depend on the product |
| Perimeter spacing | Follow that product’s specific requirement | Usually needs a defined expansion gap |
The biggest surprise for many DIYers is that glue-down vinyl is not simply click-lock flooring with adhesive underneath. Most traditional dry-back planks have straight edges, with no locking mechanism at all.
Glue-down suits many kitchens and hallways, but click-lock can be more forgiving for a first DIY project.
What You’ll Need Before Starting
I gather tools first so a missing knife never costs me an adhesive’s working window.
- Glue-down vinyl planks approved for your room and substrate
- Manufacturer-approved adhesive and specified notched trowel or applicator
- Tape measure, pencil, chalk line, straightedge, and carpenter’s square
- Utility knife with spare sharp blades and a cutting mat
- Broom, suitable vacuum, and lint-free cloths
- Floor patch or self-leveling product and primer, if specified
- Moisture-testing equipment or professional test results for concrete
- Hand roller and, when required, a 75–100 lb sectional floor roller
- Knee pads, gloves, and any protective equipment required by product labels
- Trim-removal tools, transition strips, and appropriate base trim
Check the plank carton and adhesive technical data sheet before buying the trowel. The notch shape and size affect the amount of glue transferred to the plank; a generic trowel can give the wrong coverage.
How Much Flooring and Adhesive Should You Buy?
Multiply the room’s length by its width to find square footage. I usually allow about 10% extra for cuts and repairs; intricate patterns may need more.
For example, a 12-by-15-foot room contains 180 square feet. Adding 10% brings the purchase estimate to 198 square feet, rounded up to full cartons.
Calculate adhesive from the specified trowel, subfloor porosity, and product coverage; worn notches can affect the spread rate.
How to Prepare the Subfloor for Glue-Down LVP
I spend the most time here. Thin dry-back vinyl can reveal ridges, nail heads, and grout lines—known as telegraphing.
Check Flatness, Stability, and Moisture
Run a long straightedge across the floor in several directions. Mark high spots and low areas with a pencil. As an example, some Shaw glue-down specifications permit no more than 3/16 inch of variation across 10 feet, but the limit for your chosen flooring takes priority.
Concrete must be sufficiently dry for both the flooring and its adhesive. Manufacturers may call for ASTM F2170 in-situ relative-humidity testing or ASTM F1869 calcium-chloride testing, along with pH checks. A surface that looks dry can still have an unacceptable moisture reading.
Wood subfloors should be solid, securely fastened, and free of deflection. Some manufacturers require a smooth, flooring-grade plywood underlayment over OSB, particleboard, or plank subfloors. Do not assume you can glue directly onto every plywood or wood surface.
If you’re renovating an older property, stop before sanding, scraping, or grinding old resilient flooring or black adhesive that might contain asbestos. The EPA’s asbestos guidance recommends leaving suspected material undisturbed and seeking qualified help when necessary.
Make the Surface Smooth and Bond-Ready
Remove any loose coatings, dust, grease, paint, wax, and other contaminants using methods approved for the substrate. Fill minor cracks and depressions with a patch compatible with resilient flooring. Use a suitable leveling compound for larger dips, following its primer and drying requirements.
Ceramic tile may be an acceptable base for certain systems only when it’s firmly bonded, dry, and approved by the flooring manufacturer. Grout joints and textured surfaces generally need smoothing so they do not print through the new planks.
Finally, vacuum thoroughly. I also inspect the floor with light coming from the side; shallow bumps and patching ridges become easier to spot. Never use the vinyl adhesive itself as a filler or leveler.
How to Install Glue Down Vinyl Plank Flooring
Once the subfloor meets the flooring and adhesive requirements, the actual laying process becomes more predictable. I divide it into smaller work zones rather than trying to coat an entire room at once.
1. Acclimate the Planks and Stabilize the Room
Bring the planks and adhesive into the installation room and follow the product’s conditioning period. This is not a universal 24-hour or 48-hour rule: Karndean specifies at least 24 hours for certain gluedown products, while Shaw specifies at least 48 hours for some of its residential lines.
Maintain the required room conditions throughout. Keep cartons away from direct sunlight and heating vents; inspect and mix planks from several cartons for natural variation.
2. Remove Obstacles and Plan the Finished Height
Take off baseboards or shoe molding if needed, remove doors that restrict access, and check clearance beneath door casings. Glue-down planks are often thinner than click-lock products, which can make transitions less bulky—but you still need to account for patches, underlayment panels, and adjacent flooring.
Plan transitions to nearby floors and check the product’s perimeter-clearance rule before starting.
3. Measure the Room and Establish a Straight Reference Line
Find the center or another practical starting point and snap a chalk line parallel to the main sightline. Check the line against a reliable square reference, not just a wall that may be slightly crooked.
Dry-lay several rows without adhesive. Measure what will remain at the opposite wall. If the final row would be an awkward narrow strip, shift the layout so the first and last rows look balanced.
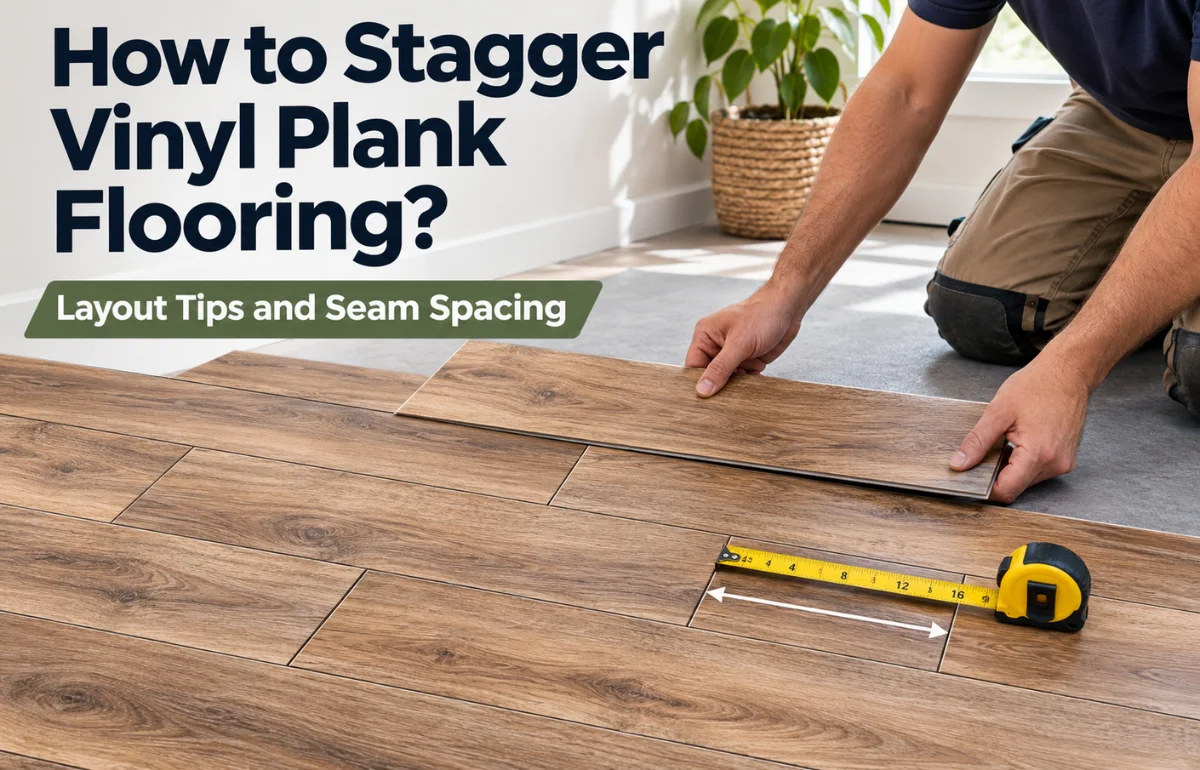
For wood-look planks, I favor a varied stagger rather than a repeating stair-step pattern. Follow the product’s minimum end-joint offset—some Shaw instructions specify 6–8 inches—and avoid tiny end pieces.
4. Dry-Fit Cuts Before Spreading Glue
Cut a few planks for doorways, corners, or fixed objects in advance. Most flexible dry-back vinyl can be scored on the decorative face with a sharp utility knife, snapped, and cut through the backing. For awkward shapes, use a template and make several light passes rather than forcing the blade.
This is also a good moment to plan your exit. Work toward a doorway or an unglued section so you won’t need to step onto fresh adhesive or newly placed planks to leave the room.
5. Select the Correct Adhesive and Apply a Small Test Area
The floor manufacturer may specify a pressure-sensitive, transitional, or hard-set adhesive. These are not interchangeable simply because the bucket says “vinyl flooring.” Heavy rolling loads, heat, direct sunlight, moisture conditions, and the plank backing can change which adhesive is suitable.
I would test a small inconspicuous area if the instructions recommend a bond test, especially on sealed or unusually porous concrete. Use the exact applicator and spread rate in the adhesive data sheet. Apply glue only where you can lay planks within its working time.
A useful planning habit is to mark a section boundary at the end of a plank row instead of in its middle. You can then stop cleanly without leaving half a plank lying on a glue-free patch.
6. Respect Both Adhesive Timing Windows
Adhesive labels often distinguish the wait before laying planks from the period during which they can still bond properly. Depending on the product, the first may be described as flash or open time; naming conventions vary, so use the label’s definitions rather than memorizing one rule.
Some pressure-sensitive adhesives must become tacky or dry to the touch before placement. Other hard-set formulas require wet or semi-wet placement. Installing too early can trap moisture, while laying planks after the permitted window may leave weak bonds and lifted corners.
Shine or stickiness alone cannot confirm readiness. Temperature, humidity, and porosity affect timing, so record when each section was spread.
7. Lay the First Rows Carefully
Place the first plank along your reference line, lowering it into position without sliding it through the adhesive. Butt the next plank tightly against it, keeping the edges aligned without forcing the pieces together or creating upward pressure.
Continue the stagger you planned, checking the line every few rows. If a plank lands crooked, correct it immediately using the repositioning procedure allowed by the adhesive. Once the bond sets, adjustment may require removing that plank and preparing the area again.
Keep trimming dust and grit away from adhesive; both can create visible bumps under thin vinyl.
8. Roll Each Section to Establish Full Contact
Rolling is not an optional cosmetic finish. It presses the back of the plank into the adhesive and helps establish consistent transfer. Use a hand roller as sections are laid, then the sectional floor roller required by your installation instructions.
For example, Karndean’s U.S. gluedown guidance specifies rolling the completed area in both directions with a 100 lb roller, using a hand roller where a larger roller cannot fit. Pay extra attention to seams and plank ends.
Roll within the adhesive’s stated working time; don’t wait until the entire house is finished. Check for hollow-feeling corners, shifted rows, or adhesive squeeze-out as you work.
9. Finish the Edges and Remove Adhesive Residue
Fit the final row with careful measurements rather than assuming the wall is straight. Reinstall trim and transitions without fastening through the vinyl unless the flooring system specifically allows it. Use only approved perimeter sealants where water exposure requires them.
Wipe fresh adhesive from the plank face promptly using the manufacturer’s approved method. Don’t reach automatically for strong solvents: some cleaners can mark the vinyl finish, and dried glue may require a different removal procedure.
10. Let the Adhesive Cure Before Normal Use
The last plank going down does not mean the floor is ready for furniture. Restrict foot traffic, rolling loads, cleaning, and heavy objects for the exact periods specified by the adhesive and flooring manufacturers.
Avoid dragging appliances across the new floor. Use suitable floor protection and lifting equipment when bringing furniture back. Maintain the required room conditions during curing, especially if you’ve installed planks near sunny windows.
Common Glue-Down Flooring Mistakes and How I Avoid Them
A few mistakes explain many disappointing installations:
- Skipping moisture tests: Waterproof vinyl does not prevent moisture-related adhesive failure beneath it. Verify concrete results before installing.
- Using a random adhesive: Choose a product approved for your plank, backing, substrate, and room conditions.
- Spreading too far ahead: Divide the floor into smaller sections and track working times instead of racing against drying glue.
- Ignoring minor subfloor flaws: Smooth ridges and fill grout lines before they show through the finished surface.
- Not rolling thoroughly: Apply the required roller pressure in both directions while the adhesive can still form its intended bond.
- Borrowing click-lock spacing rules: Verify the perimeter requirement for the actual glue-down product rather than automatically leaving no gap—or leaving a large one.
One extra check I recommend is a “first-section inspection.” After the first few rows, pause and confirm the line is straight, the stagger looks natural, the edges sit flat, and the adhesive has transferred as expected. Catching an error over 20 square feet is much easier than discovering it across the entire room.
Is Glue-Down Vinyl Worth the Extra Work?
For busy entryways, kitchens, offices, and rooms where a low-profile floor helps with adjoining surfaces, glue-down LVP can be an excellent fit. Properly specified adhesive keeps individual planks anchored, and a damaged plank can sometimes be replaced without dismantling a whole floating floor.
The trade-off is the preparation. Floor leveling, moisture evaluation, adhesive, and roller rental can reduce any savings from buying thinner planks. Click-lock often makes more sense when speed, easier removal, and a straightforward DIY process matter most.
I would choose based on the subfloor and the room’s use, not just the plank’s appearance. If your concrete has unresolved moisture issues or the existing base moves underfoot, address those problems before choosing either system.
Frequently Asked Questions
Can you glue vinyl plank flooring directly to concrete?
Yes, if the concrete is sound, smooth, clean, properly moisture-tested, and approved for the selected plank and adhesive.
What kind of glue should I use for vinyl plank flooring?
Use the flooring manufacturer’s approved LVP adhesive. The correct pressure-sensitive or hard-set formula depends on the plank and jobsite conditions.
How long should glue-down vinyl flooring dry before walking on it?
Follow your specific adhesive’s traffic and curing schedule; light foot traffic and heavy furniture often have different restrictions.
Do glue-down vinyl planks need an expansion gap?
Requirements vary by manufacturer and product. Some dry-back systems permit a tight perimeter, while others specify a gap.
Can glue-down vinyl planks go over existing ceramic tile?
Sometimes, if the tiles are secure, dry, compatible, and the grout joints and texture are properly smoothed. Check the flooring manufacturer’s approval first.
Final Thoughts
Knowing how to install glue down vinyl plank flooring means treating preparation and adhesive timing as essential, not optional. Measure carefully, work in small sections, and roll each area while the adhesive can bond properly.
Before you begin, download the installation instructions for your exact plank and adhesive. That one check can prevent the gaps, ridges, and loose corners that are hardest to fix afterward.