Luxury vinyl tile installation is the process of preparing a subfloor, planning a tile layout, and fitting luxury vinyl tiles (LVT) using adhesive, a click-lock system, or another manufacturer-approved installation method. The tiles are designed to reproduce the appearance of natural materials such as stone, marble, and ceramic while offering a durable, relatively low-maintenance flooring surface.
A successful installation depends on three things: a stable and properly prepared substrate, accurate tile positioning, and the correct installation technique.
Although LVT is generally easier to install than traditional ceramic tile, it isn’t completely forgiving. Small imperfections beneath the flooring can eventually become visible, while poor layout decisions may leave awkward cuts along walls and doorways.
I recommend treating subfloor preparation and layout planning as the foundation of the entire project, rather than rushing straight into laying tiles.
Understanding Luxury Vinyl Tile Installation Methods
Before preparing the floor, I would establish which LVT installation system the product requires.
Not every luxury vinyl tile attaches to the floor in the same way. The installation method affects everything from surface preparation to expansion gaps and adhesive selection.
Glue-Down, Click-Lock, and Loose-Lay LVT
| Installation method | How it works | Main consideration |
|---|---|---|
| Glue-down LVT | Tiles bond directly to the substrate using approved adhesive. | Requires an exceptionally smooth, clean surface and proper adhesive application. |
| Click-lock LVT | Tiles connect mechanically to form a floating floor. | Requires a flat, stable base and adequate expansion clearance. |
| Loose-lay LVT | Tiles use a specialized backing and may require perimeter or full-spread adhesive depending on the product. | Requires precise preparation and adherence to the manufacturer’s restraint requirements. |
Glue-down LVT is particularly useful when detailed patterns, borders, or individual tile replacement are priorities.
Click-lock products can simplify installation because they don’t require spreading adhesive. However, their locking joints can become damaged if the substrate contains excessive dips or high spots.
Loose-lay tiles offer another option, but I wouldn’t assume they can simply be placed on any existing surface without preparation.
The manufacturer’s installation instructions should always determine the final approach.
What to Check Before Installing Luxury Vinyl Tiles
A beautiful floor begins with practical checks that are easy to overlook.
Inspect the Tiles and Installation Environment
I recommend opening and inspecting cartons before committing to a layout. Confirm that the tiles have the correct dimensions, color, pattern, and manufacturing batch.
Mixing tiles from several cartons can help distribute natural-looking color variations instead of concentrating darker or lighter pieces in one section.
Temperature also matters.
Some glue-down LVT manufacturers specify approximately 24 hours of conditioning in a controlled environment, while other products require longer periods or have different requirements.
For example, Karndean’s installation guidance provides product-specific acclimation and temperature instructions.
Avoid storing cartons in direct sunlight, unheated garages, or unusually damp areas before installation.
Gather the Right Installation Tools
The equipment depends on the flooring system, but a typical project may require:
- Tape measure, pencil, carpenter’s square, and chalk line
- Long straightedge or laser level
- Utility knife with replacement blades
- Suitable flooring cutter or saw
- Subfloor patching compound and appropriate primer
- Vacuum cleaner and moisture-testing equipment
- Manufacturer-approved adhesive and application tools for glue-down tiles
- Spacers, tapping accessories, and suitable rollers where specified
I would also keep a small notebook for recording room measurements, moisture readings, and layout adjustments.
These details become surprisingly useful when a project includes multiple rooms or complicated doorways.
Subfloor Preparation: The Most Critical Part of LVT Installation
Luxury vinyl tiles are relatively thin compared with many traditional flooring materials. Consequently, irregularities underneath them can affect both appearance and performance.
A raised seam may eventually become visible through flexible vinyl, while an unsupported low spot beneath rigid click-lock flooring can place unnecessary stress on the joints.
The goal is a substrate that is clean, dry, structurally sound, smooth, and sufficiently flat.
Check Subfloor Flatness Before Leveling
A floor doesn’t necessarily need to be perfectly horizontal. It does need to meet the flooring manufacturer’s flatness tolerance.
As an example, Karndean publishes a preparation guideline of 3/16 inch over 10 feet for certain LVT installations. Other products may specify different limits.
Place a long straightedge across the floor in several directions.
Look for gaps beneath the straightedge, raised joints, surface ridges, and uneven transitions.
Mark problem areas before applying repair materials. This makes it easier to distinguish isolated defects from widespread irregularities.
I recommend checking the floor near doorways and walls as carefully as the center of the room. These areas often contain old adhesive, damaged edges, or uneven repairs.
Preparing Concrete Subfloors
Concrete is a common substrate for luxury vinyl tile installation, but its appearance doesn’t reliably indicate whether it is ready.
Even a seemingly dry slab can contain excessive moisture.
For concrete installations, I would prioritize the following checks:
- Test moisture using the method required by the flooring and adhesive manufacturers, such as ASTM F2170 or ASTM F1869.
- Check surface alkalinity where the adhesive specifications require it.
- Remove incompatible coatings, contaminants, and adhesive residues using approved methods.
- Repair cracks, depressions, and damaged areas with a compatible patching compound.
- Apply suitable primer and smoothing materials where required.
Moisture limits aren’t universal. They depend on the flooring, adhesive system, and sometimes the regional installation standard.
A moisture result acceptable for one adhesive may exceed another product’s warranty requirements.
Never assume that waterproof vinyl flooring eliminates the need for concrete moisture testing. The tile may resist water while moisture still damages the adhesive or flooring system.
Preparing Plywood and Wooden Subfloors
Wooden substrates present different challenges because they can move with changing moisture conditions.
Loose floorboards, flexible panels, protruding fasteners, and exposed joints should be corrected before laying LVT.
For glue-down installations, an approved resilient-flooring underlayment may be necessary.
Some manufacturers recommend a minimum 1/4-inch underlayment-grade plywood over unsuitable wooden surfaces, with joints and fastener locations carefully smoothed.
I wouldn’t install flexible LVT directly over particleboard, OSB, or rough floorboards unless the specific flooring system expressly permits it.
Adding patching compound alone won’t solve structural movement. The underlying floor must first be secured.
Can LVT Be Installed Over Existing Tiles?
Sometimes, yes.
Existing ceramic or porcelain tile can provide a suitable base when the flooring is firmly bonded, sufficiently flat, clean, and compatible with the new installation system.
However, deep grout lines, uneven tile edges, and loose pieces require correction.
For flexible glue-down LVT, the existing tile pattern may eventually show through unless the surface receives appropriate smoothing treatment.
Old resilient flooring requires additional caution. Some older vinyl tiles and adhesives may contain asbestos.
The U.S. Environmental Protection Agency advises against sanding, scraping, or otherwise disturbing suspected asbestos-containing materials without appropriate professional assessment.
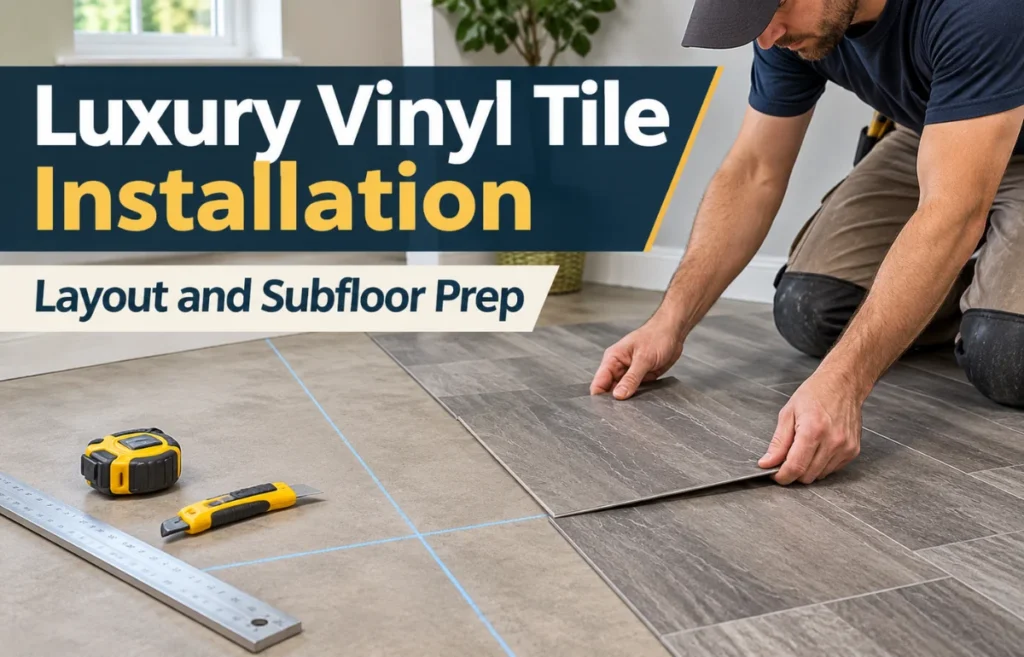
How to Plan an Accurate Luxury Vinyl Tile Layout
Once the subfloor is ready, layout becomes the next major decision.
I prefer planning the visible tile arrangement before making any permanent cuts.
A mathematically centered layout isn’t always the most attractive one, especially in rooms with irregular walls or prominent entrances.
Measure the Room and Identify Its Focal Point
Measure the room at multiple locations rather than relying on a single wall-to-wall measurement.
Older rooms are rarely perfectly square. The distance between opposite walls may vary slightly from one end to another.
Identify the area people notice first.
That might be a kitchen entrance, a long hallway, or the open floor between cabinets.
A well-positioned tile pattern should appear balanced from these important viewing angles.
I would also measure permanent fixtures and transitions rather than assuming every wall follows the same alignment.
Use a Dry Layout to Avoid Narrow Edge Pieces
One useful technique is to calculate the expected border cuts before installation.
Consider a room measuring 134 inches across, using 12-inch-wide tiles.
Starting with full tiles against one wall could leave a final strip only 2 inches wide.
Centering a full tile in the room could produce two 1-inch border pieces instead.
A better arrangement may be to place a tile joint at the room’s center, producing ten full-width tiles with approximately 7-inch border pieces at both sides.
This simplified example excludes any required movement clearance.
The lesson is straightforward: shifting the layout by half a tile can completely change the appearance of the perimeter.
I recommend dry-laying several rows and comparing the resulting edge cuts before establishing the final starting line.
Establish Straight Reference Lines
For a square tile layout, locate the room’s center and establish perpendicular reference lines.
Use a reliable square or the 3-4-5 method to confirm the lines form a true right angle.
The 3-4-5 method works by marking distances of 3 and 4 units along two lines. Their diagonal should measure 5 units when the angle is 90 degrees.
After confirming alignment, extend the reference lines across the working area.
Avoid blindly following a crooked wall. Doing so can make the entire floor appear increasingly misaligned.
Choose a Pattern That Fits the Room
Common LVT tile arrangements include:
- Straight lay, with aligned joints for a clean, structured appearance
- Offset or running bond, with staggered joints for a softer visual effect
- Diagonal layouts, which create a distinctive appearance but usually involve more perimeter cuts
- Checkerboard arrangements using compatible contrasting tile designs
Not every locking tile allows every pattern. Joint offsets and permitted layouts should follow product instructions.
I would choose the simplest pattern that complements the room’s proportions rather than introducing complexity without a clear visual benefit.
Installing Glue-Down Luxury Vinyl Tiles
Glue-down installation demands particular attention to adhesive compatibility, working time, and tile positioning.
Once the adhesive reaches its required installation condition, there may be limited opportunity to reposition tiles.
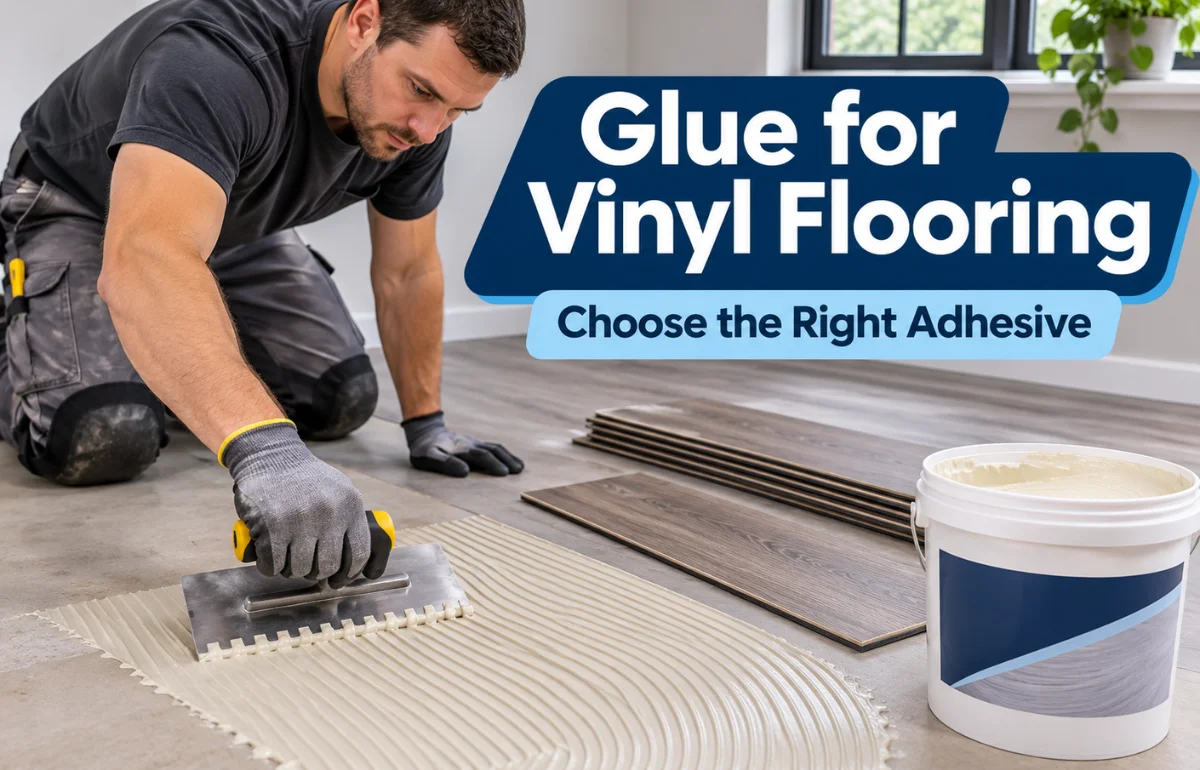
Apply the Correct Flooring Adhesive
Select an adhesive approved for the specific LVT product, substrate, and environment.
A pressure-sensitive adhesive may behave differently from a wet-set or hard-set product. The required trowel notch, application rate, drying time, and working window also vary.
Work in manageable sections rather than coating the entire room immediately.
Some adhesives require a specified tack condition before tiles are placed. Others require installation into wet adhesive.
Following the wrong procedure can reduce bond strength or contribute to tile movement.
Position, Press, and Roll the Tiles
Begin along the prepared reference lines and maintain consistent joint alignment.
Place each tile carefully against the adjoining tile without forcing the edges together or stretching the material.
Work outward while checking alignment frequently.
Where the adhesive system requires rolling, use the specified roller and follow the required timing. Some glue-down instructions call for rolling in both directions to achieve proper adhesive transfer.
Pay special attention to tile corners and perimeter areas.
Remove adhesive residue promptly using the manufacturer’s recommended cleaning method.
Finally, observe the specified curing period before allowing foot traffic, moving furniture, or wet cleaning.
Installing Click-Lock Luxury Vinyl Tiles
Click-lock LVT installation follows a different process because the floor generally floats over the substrate.
Unlike glue-down flooring, it shouldn’t be restrained by fixed objects that prevent normal movement.
Leave the Required Expansion Clearance
Before fitting the first row, check the product’s expansion-gap requirements.
Some rigid-core flooring systems specify a minimum 3/16-inch perimeter gap, but larger spaces or different products may require additional clearance.
Use spacers to maintain the specified distance around walls, columns, pipes, and other fixed structures.
Avoid installing permanent cabinets directly on top of a floating floor unless the flooring manufacturer specifically permits it.
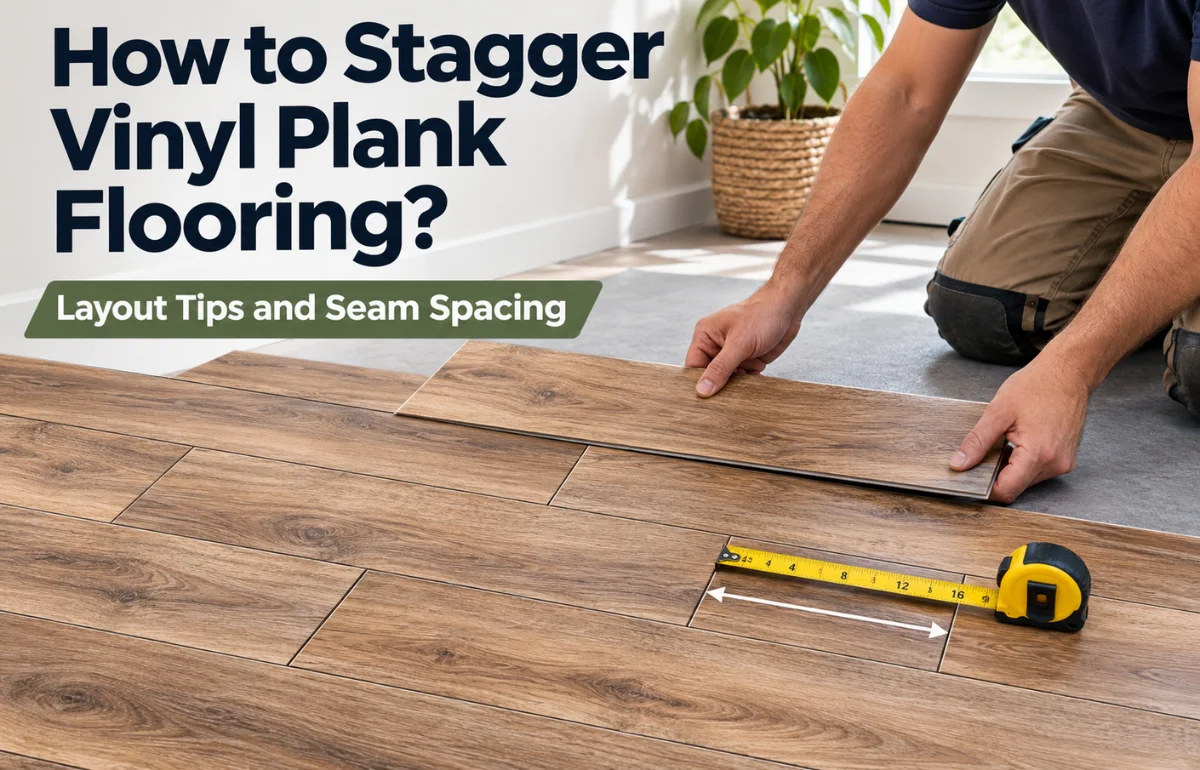
Connect and Stagger the Tiles
Position the first row according to the approved starting orientation.
Engage the locking edges using the manufacturer’s specified angle and technique.
Continue with subsequent rows, maintaining the required joint offsets.
I would inspect each joint immediately. A tiny amount of trapped debris or an improperly engaged locking profile can create a visible gap.
Never strike delicate locking edges directly with a hammer. Use approved tapping tools only when the installation instructions allow them.
Cutting LVT Around Doorways, Cabinets, and Fixtures
Straight wall cuts are relatively straightforward, but awkward shapes deserve additional attention.
For flexible LVT, scoring with a sharp utility knife and snapping or cutting through the material may be appropriate.
Rigid tiles sometimes require a flooring cutter or saw, depending on their construction.
Measure twice, mark the finished face accurately, and confirm the intended cutting orientation.
Pay Attention to Door Frames and Transitions
Doorways are among the most noticeable areas of a flooring installation.
Where appropriate, undercut door casings so the flooring can fit neatly underneath while maintaining the necessary clearance.
Check the finished floor height against adjoining flooring before installation.
A transition strip may be needed to accommodate different surface heights, movement requirements, or flooring materials.
I recommend planning transition locations during layout rather than treating them as finishing accessories.
Poorly positioned transitions can interrupt an otherwise attractive tile pattern.
Common Luxury Vinyl Tile Installation Mistakes
Many installation failures originate before the first tile is laid.
| Common mistake | Possible result | Better approach |
|---|---|---|
| Skipping moisture tests | Adhesive failure or flooring damage | Test the substrate and follow approved moisture limits. |
| Ignoring surface imperfections | Visible ridges, uneven joints, or movement | Repair and verify substrate flatness. |
| Starting against an uneven wall | Crooked rows and narrow perimeter cuts | Establish accurate reference lines. |
| Using incompatible adhesive | Weak bonding or tile displacement | Follow the flooring manufacturer’s adhesive specifications. |
| Restricting a floating floor | Buckling, peaking, or joint damage | Maintain expansion gaps and avoid fixed restraints. |
| Rushing adhesive curing | Tile movement or weakened bonding | Respect the required traffic and curing restrictions. |
One Detail Often Overlooked: The Final Tile Position
I suggest checking the proposed layout in three places: the main entrance, the longest uninterrupted sightline, and the narrowest section of the room.
A layout that looks balanced in the center may still produce an unattractive strip beside a kitchen island or doorway.
This three-position check can reveal problems that ordinary centerline measurements miss.
It’s also worth photographing the dry layout and recording reference measurements before installing the flooring.
That simple record can help maintain alignment when work resumes after a break.
When Should You Hire a Professional LVT Installer?
Some homeowners can manage a straightforward click-lock installation with suitable tools and careful preparation.
However, certain conditions justify professional assistance.
These include persistent concrete moisture, extensive subfloor leveling, damaged wooden structures, complicated pattern installations, or suspected asbestos-containing materials.
Glue-down flooring over a large area also requires confidence in adhesive handling and installation timing.
Before accepting a quotation, I would ask the installer whether subfloor assessment, moisture testing, surface preparation, transitions, and finishing work are included.
A low installation price may not include the preparation needed for a reliable result.
Frequently Asked Questions About Luxury Vinyl Tile Installation
1. Can I install luxury vinyl tile directly over concrete?
Yes, provided the concrete meets the flooring manufacturer’s requirements for moisture, cleanliness, strength, smoothness, and flatness.
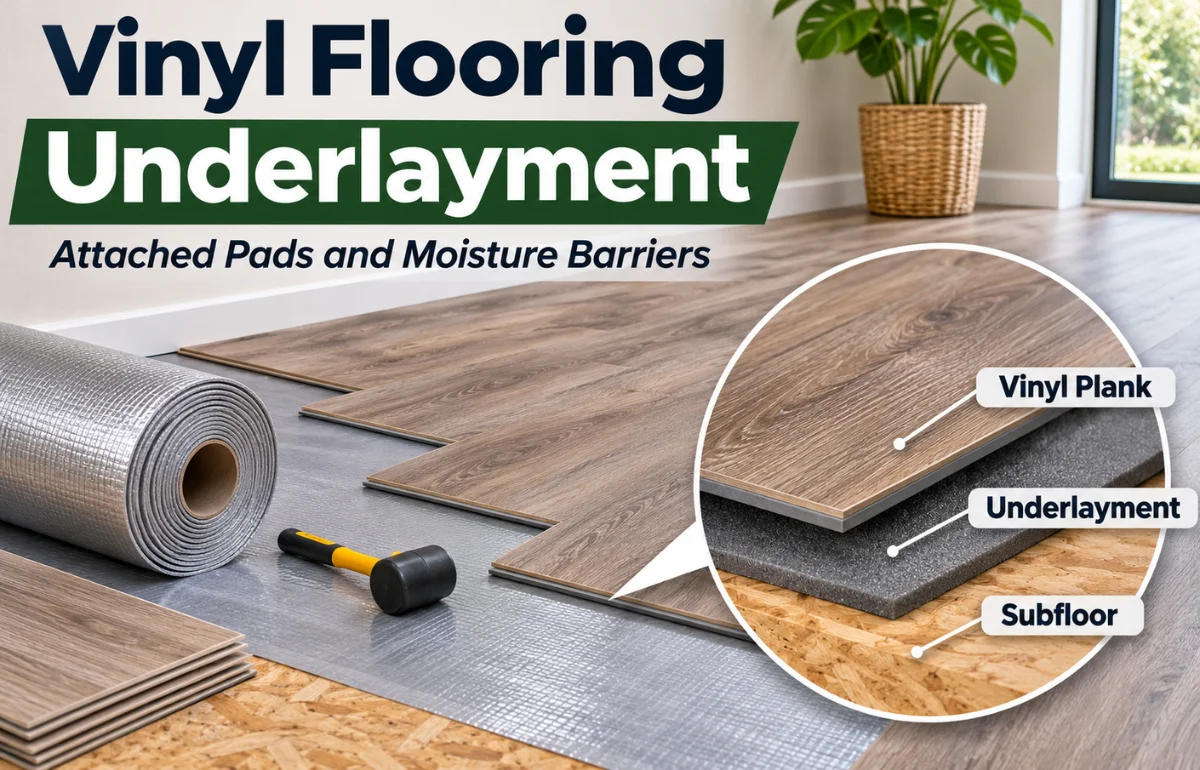
2. Does luxury vinyl tile need underlayment?
Glue-down LVT generally requires direct bonding to a suitable prepared surface, while click-lock LVT may have an attached pad or specific underlayment requirements.
3. How long does luxury vinyl tile installation take?
A small, straightforward room may be installed in a day, but preparation, leveling, acclimation, adhesive curing, and complex layouts can extend the project.
4. Do I need to leave gaps around luxury vinyl tiles?
Floating click-lock LVT requires manufacturer-specified expansion gaps; glue-down tiles follow different perimeter and joint requirements.
5. Can luxury vinyl tile be installed in kitchens and bathrooms?
Yes, many LVT products are suitable for residential kitchens and bathrooms, provided installation instructions and moisture-control requirements are followed.
Final Thoughts
Luxury vinyl tile installation is as much about preparation and planning as it is about fitting the tiles.
A properly prepared subfloor helps prevent visible imperfections and premature damage, while an accurate layout creates balanced joints and cleaner edges.
I recommend starting with the manufacturer’s installation instructions, checking substrate conditions, and testing the layout before applying adhesive or connecting tiles.
If the subfloor has significant moisture or structural problems, have those issues professionally assessed before proceeding.
Taking these precautions gives your new luxury vinyl floor a much better chance of looking attractive and performing reliably for years.