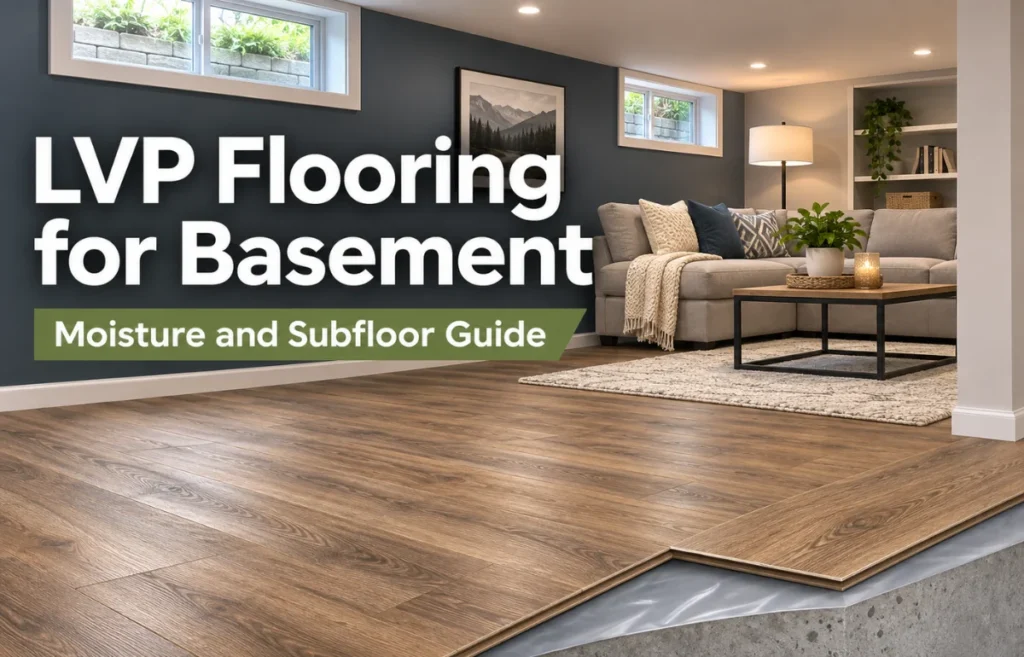
LVP flooring for basement spaces means luxury vinyl plank flooring installed over a properly prepared below-grade floor, usually concrete. The planks have a realistic wood-look surface, a protective wear layer, and a vinyl-based core; many modern products click together without glue.
LVP is popular in basements because the planks resist everyday spills and do not swell like traditional hardwood. But there is one catch: waterproof planks do not make a basement waterproof. Moisture can still collect beneath the flooring, damage other materials, or encourage mold.
I consider LVP a smart basement option only after checking the slab, controlling water entry, and selecting a compatible vapor barrier or subfloor system. The real decision starts below the visible floor.
Why Basement Flooring Needs a Different Approach
An upstairs room has a relatively predictable subfloor. A basement sits against the ground, where water and temperature behave differently. Concrete looks solid, but it can transmit moisture vapor even when the surface feels dry.
I separate basement moisture into three problems. Liquid water enters through cracks, plumbing leaks, or wall-floor joints. Vapor moves through concrete from the soil below. Condensation appears when humid indoor air meets a cool surface, sometimes under a floor covering.
These problems require different fixes. A polyethylene sheet may manage normal vapor transmission in an approved flooring assembly. It cannot stop a foundation leak or relieve groundwater pressure. A dehumidifier can improve humid indoor air, but it will not repair a leaking wall.
That distinction explains why some attractive LVP installations fail even when the planks themselves remain intact.
Is Your Basement Ready for LVP? Start With the Moisture Pattern
Before looking at oak finishes or plank widths, I look for evidence of water. A musty smell, dark concrete patches, white mineral deposits, peeling paint near the floor, or damp baseboards deserves investigation. So does a sump pump that runs constantly after rain.
The timing of moisture matters as much as its location. Water appearing after storms points toward drainage or foundation problems. Dampness during warm, humid weather may signal condensation. Persistent moisture in the middle of a slab could indicate vapor movement, but testing is needed to establish what is happening.
| What you find | What it may indicate | My flooring decision |
|---|---|---|
| Dry slab, no leak history | Potentially suitable conditions | Test moisture, then check LVP specifications |
| Humidity or occasional condensation | Indoor moisture or cold-surface problem | Improve humidity control; investigate before covering |
| Damp spots or high slab-moisture readings | Vapor or water intrusion | Identify the cause and confirm an approved mitigation system |
| Standing water, seepage, or recurring floods | Active liquid-water problem | Postpone LVP until drainage and waterproofing are addressed |
The table is a screening tool, not a substitute for diagnosing a foundation. In an older basement, I would also ask what happened during the wettest season, not just whether the floor looks dry today.
Test the Concrete Instead of Guessing
A taped-down square of clear plastic can reveal visible moisture buildup. The EPA describes a plastic-sheet check as a useful screen when evaluating a slab after flooding. However, a clean-looking result does not prove that concrete meets a flooring manufacturer’s moisture limits.
For installation decisions, the more meaningful measurement is often an in-situ relative humidity test under ASTM F2170. Some manufacturers also accept calcium chloride testing under ASTM F1869. These measure different aspects of slab moisture, and the product’s installation instructions determine which results are acceptable.
There is no universal “safe RH number” for every luxury vinyl plank. For example, MSI’s published Everlife guidance discusses a 90% RH threshold for additional moisture-control measures, while other product lines specify lower limits. I would never apply one brand’s allowance to another brand’s floor.
A flooring professional can help test more than one area, especially near exterior walls or previously damp corners. Remember that readings describe conditions at the time and places tested; seasonal changes still matter.
Fix Water Sources Before Covering Them
Check gutters, downspouts, soil grading, window wells, plumbing, and the wall-floor joint. If water is actively entering, the solution may involve exterior drainage, crack repair, sump improvements, or professional foundation waterproofing.
The EPA’s basement remodeling guidance recommends correcting moisture problems before converting a basement to living space. I follow that principle even for a simple flooring refresh. Concealing a wet slab can make a small repair harder to spot later.
Choose the Right LVP Construction for the Basement
LVP is a category, not a single product. The core, locking system, backing, and installation method affect performance more than a “waterproof” label alone.
SPC, WPC, and Flexible Vinyl Planks
Stone-plastic composite (SPC) has a dense, rigid core. It is a practical choice for many concrete basements because it feels stable underfoot and often works as a floating click-lock floor. Its firmness also makes careful subfloor flattening essential.
Wood-plastic or polymer composite (WPC) typically feels a little softer and warmer underfoot. I would consider it for a finished family room, but only if the manufacturer approves below-grade installation and the existing moisture conditions.
Flexible or glue-down LVP can suit some basements, particularly where transitions and floor height matter. Yet adhesives and bond strength are sensitive to slab moisture and alkalinity, so glue-down installation needs its own testing and preparation plan.
For busy rooms, examine wear-layer specifications as well as total plank thickness. A thicker board does not automatically mean a tougher surface. The wear layer, finish quality, and warranty conditions tell you more about scratch and abrasion resistance.
Which Basement Subfloor System Works Best?
This is where I spend most of my planning time. The correct assembly depends on whether the slab is dry, cold, uneven, or vulnerable to moisture, as well as how much ceiling height is available.
| Subfloor approach | Best suited to | Main limitation |
|---|---|---|
| LVP over prepared concrete with approved vapor retarder | Dry, sound, reasonably flat slabs | Limited warmth; no protection against leaks |
| LVP over approved insulating subfloor panels | Cold but dry basements needing comfort | Higher floor height and added cost |
| LVP over an approved dimpled or raised subfloor assembly | Certain slabs needing a designed separation layer | Compatibility, drainage, and moisture limits must be verified |
| Glue-down LVP on professionally prepared concrete | Low-profile installations with compliant slab conditions | Moisture and adhesive requirements can be strict |
Directly Over Concrete: Simple but Not Careless
Installing floating LVP directly over concrete is common, provided the slab and chosen product meet installation requirements. “Directly” may still include a thin vapor-retarding film between the concrete and planks.
Many manufacturers specify or recommend 6-mil polyethylene film over concrete. The requirement is not identical across products: some require it below grade, some recommend it in high-moisture applications, and some prescribe a different approved underlayment. Follow the instructions for your exact flooring model, including seam overlaps and taping.
A vapor retarder slows moisture vapor entering the flooring assembly. It does not replace a below-slab vapor barrier, correct hydrostatic pressure, or make an actively wet basement ready for flooring.
Insulated Subfloor Panels: Better Comfort, More Height
Cold concrete can make a finished basement feel uninviting even when the room air is warm. Approved insulated subfloor panels may reduce that cold-floor feeling and create a more comfortable surface for a home office or playroom.
But I would check the entire panel system, not just the advertised insulation value. Does it permit floating LVP? Is a separate vapor layer required? How should moisture beneath the panels be handled? Will the total height interfere with stairs, doors, or ceiling clearance?
Some panels include wood-based components. Those are not appropriate for unresolved moisture or flooding simply because a plastic layer sits underneath them.
Raised or Dimpled Systems: Understand Their Limits
Dimpled membranes and raised subfloors create separation from concrete, and some assemblies offer an air space or drainage pathway. Their performance depends on how the complete system is designed.
I would not assume an air gap makes trapped moisture harmless. The membrane, edge detailing, drainage provisions, load capacity, and LVP manufacturer’s approval all matter. If you regularly see liquid water, repair the water problem rather than treating a raised floor as a hidden reservoir.
Underlayment and Vapor Barriers Are Not the Same Thing
A common basement mistake is buying extra foam because the room feels cold. Underlayment can soften footfall or reduce sound, while a vapor retarder limits moisture transmission. One product may serve both functions, but that must be stated in its specifications.
If your planks already have an attached pad, adding another cushioned layer can create too much movement. That movement may stress click-lock joints and cause gaps or broken edges. I would only use an additional pad that the flooring manufacturer explicitly approves.
For example, Shaw’s SPC installation guidance describes a 6-mil poly film option for certain floating installations and gives instructions for overlapping and taping seams on concrete. Those details are part of an installation system, not interchangeable accessories.
Prepare the Slab So the Floor Stays Flat and Quiet
Even a dry slab can ruin a click-lock floor if it has humps, pits, or uneven patches. Rigid vinyl often bridges a low spot until repeated foot traffic forces the joints to flex.
Use a long straightedge to locate high and low areas. Repair defects with products suitable for concrete and compatible with the chosen LVP. Some manufacturers require flatness within 3/16 inch over 10 feet; others specify 1/8 inch over 6 feet. These are examples, not universal tolerances.
Inspect cracks before filling them. A stable hairline crack is different from a widening crack or one that leaks. Structural movement and persistent water entry need professional attention. Likewise, do not grind or disturb old floor tile or adhesive when asbestos may be present; arrange appropriate evaluation first.
Clean away grit and debris, and let repair compounds dry as specified. I also check floor drains, access covers, door swings, stair risers, and the clearance under utility equipment. A floor that looks excellent but blocks access to a drain is not a successful basement renovation.
Plan the Installation Around Real Basement Conditions
Protect Expansion Space and Moving Parts
Floating LVP needs room to move as temperatures change. Leave the perimeter and doorway clearances stated in the product instructions, and cover them with trim that does not pin the planks down.
Do not fasten fixed cabinets, partitions, or heavy permanent fixtures through a floating floor unless the manufacturer allows that construction. Keep transitions and large uninterrupted floor areas within the product’s limits.
Consider Temperature, Acclimation, and Sunlight
Some rigid-core products need little or no acclimation under normal conditions; others have specific requirements. I check storage temperature, installation temperature, and the basement’s intended year-round conditions before opening cartons.
Basement windows can also send concentrated sunlight across a floor. Follow any manufacturer instructions on heat exposure, blinds, and radiant heating. A waterproof core does not mean unlimited resistance to temperature changes.
Make Future Repairs Possible
My preferred layout keeps plumbing cleanouts, sump covers, and other service points accessible. I also keep a spare box of matching planks, with the color and lot details recorded for future repairs.
One often-overlooked question is what happens after a minor leak. A floating floor that can be carefully lifted may make inspection easier than an installation bonded firmly to the slab. Still, disassembly can damage locking edges, and some planks may need replacement. I would not promise that any LVP system can simply be reused after flooding.
What Does a Basement LVP Project Really Cost?
Plank price is only part of the budget. I include moisture testing, crack and flatness repairs, approved vapor protection, transitions, trim, waste, and installation labor when comparing options.
If the room measures 400 square feet, ordering roughly 10% additional material for a straightforward layout means planning for about 440 square feet. Irregular rooms or diagonal patterns may need more; the retailer or installer should confirm the quantity.
A more expensive plank will not compensate for an uncorrected leak. On the other hand, a suitable subfloor system may be worth the extra expense in a dry basement where warmth is the main concern. I prioritize water control first, dependable installation second, and appearance third.
When I Would Choose Something Other Than LVP
LVP is a strong choice for a dry basement family room, home gym with suitable equipment protection, or office where easy cleaning matters. It can also make a laundry area practical, provided appliances and plumbing are maintained and water problems are addressed.
I would reconsider it in a basement with frequent flooding, unexplained dampness, or persistent seepage. In those situations, exposed concrete or an appropriate mineral-based finish may be easier to inspect while the underlying problem is resolved. If the space routinely takes on water, talk to a waterproofing specialist before choosing any finish floor.
After a flood, don’t judge recovery by the appearance of the vinyl alone. Water can remain beneath planks and against walls. The EPA advises thorough drying and cleanup before reinstalling flooring; contaminated floodwater may also require professional remediation.
For a basement becoming a regularly occupied living area, I would also include a radon test in the project planning. Radon control is separate from choosing a floor or laying polyethylene film.
FAQs About LVP Flooring for Basement
Can you put LVP directly on a concrete basement floor?
Yes, if the concrete is clean, flat, sound, and within the product’s moisture limits. An approved vapor barrier may still be required between the slab and planks.
Do I need a moisture barrier under LVP in the basement?
Often, yes. Many brands require or recommend 6-mil polyethylene over concrete, but the exact requirement depends on your LVP and subfloor assembly.
Can mold grow under waterproof vinyl plank flooring?
Yes. Waterproof planks do not prevent moisture from supporting mold on dust, backing materials, wood, or nearby building components beneath or beside the floor.
Is SPC or WPC flooring better for a basement?
SPC is usually firmer, while WPC may feel warmer and softer. Either can work when its below-grade approval, moisture limits, and installation requirements match the space.
Will LVP survive a flooded basement?
The planks may resist water damage, but flooding can contaminate or damage the floor assembly. Remove trapped water, inspect beneath the floor, and follow cleanup guidance before reuse.
Final Thoughts: Let the Slab Make the Decision
The best LVP flooring for basement projects is not necessarily the thickest or most expensive plank. It is the product that fits the actual moisture conditions, subfloor preparation, and daily use of the space.
My next move would be to inspect the basement after wet weather, obtain the required slab-moisture tests, and compare two or three manufacturers’ below-grade installation instructions. Once the water problem is understood, choosing the color and finish becomes the easy part.