How to Repair Chipped Paint starts with removing loose paint, smoothing the damaged edge, filling any depression, priming exposed material, and applying matching paint in thin coats. A paint chip is a spot where part of the paint film has broken away, leaving an uneven edge or exposing the surface underneath.
Small chips on sound interior walls often need only a simple touch-up. More serious damage, glossy trim, and exterior surfaces usually need more preparation.
The key is to fix the reason the coating failed before hiding the mark. I recommend treating every chip as two problems: a damaged surface that needs leveling and a finish that needs blending. Do both well, and the repair can become difficult to spot without repainting an entire room.
Why Paint Chips in the First Place
A chair bumping a wall, a vacuum striking a baseboard, or a dropped object hitting a cabinet can knock off an otherwise healthy coating. These isolated chips are usually straightforward to repair.
Recurring chips tell a different story. Paint may lose its grip because the surface was dusty, greasy, damp, or too glossy when it was painted.
Thick coats, incompatible products, and inadequate drying between coats can also contribute. Around windows and bathrooms, ongoing moisture deserves particular attention.
Look at the damage before opening the paint can. If the edges are firmly attached and the surrounding area looks sound, a local repair makes sense.
If paint lifts in sheets, bubbles, feels soft, or keeps flaking after light scraping, investigate the underlying cause first. Repainting unstable paint merely conceals the problem temporarily.
Is It a Chip, a Scratch, or Peeling Paint?
A chip has a missing piece of coating, often with a distinct raised rim. A scratch may need only cleaning or a tiny touch-up.
Peeling means the coating is separating over a wider area. That calls for broader removal and possibly a different primer or moisture correction.
Tools and Materials for a Clean Repair
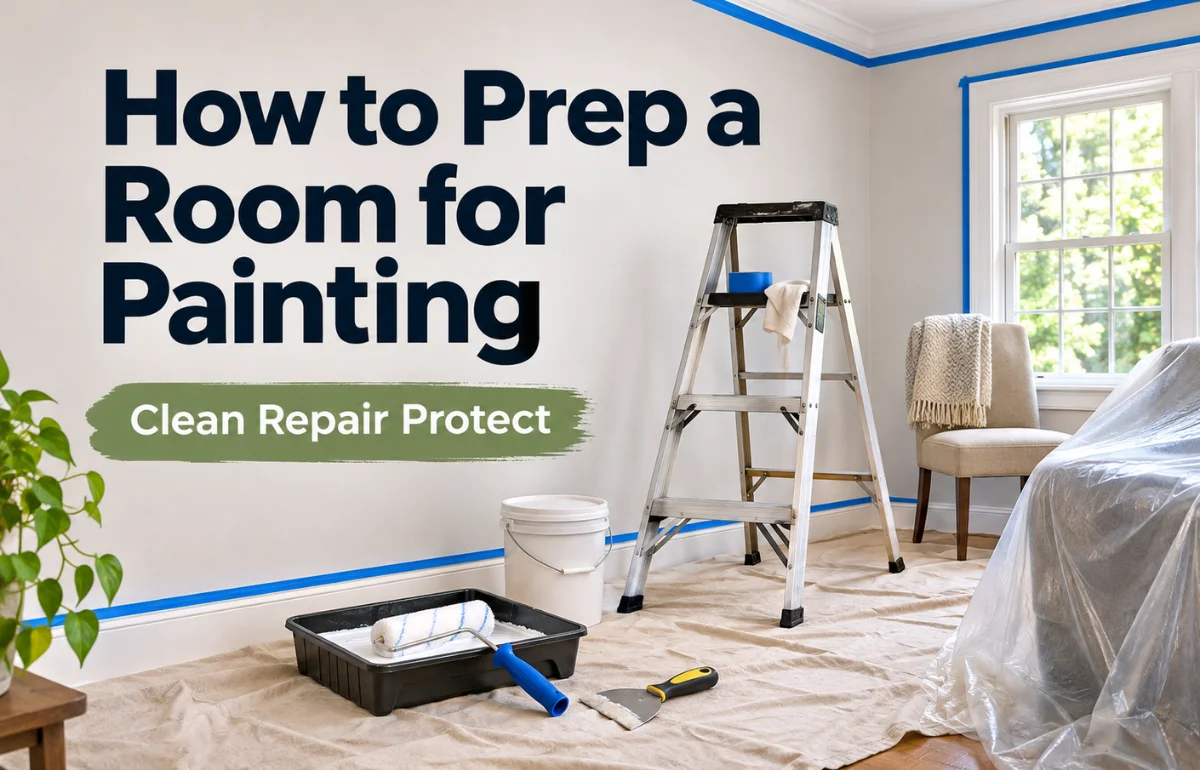
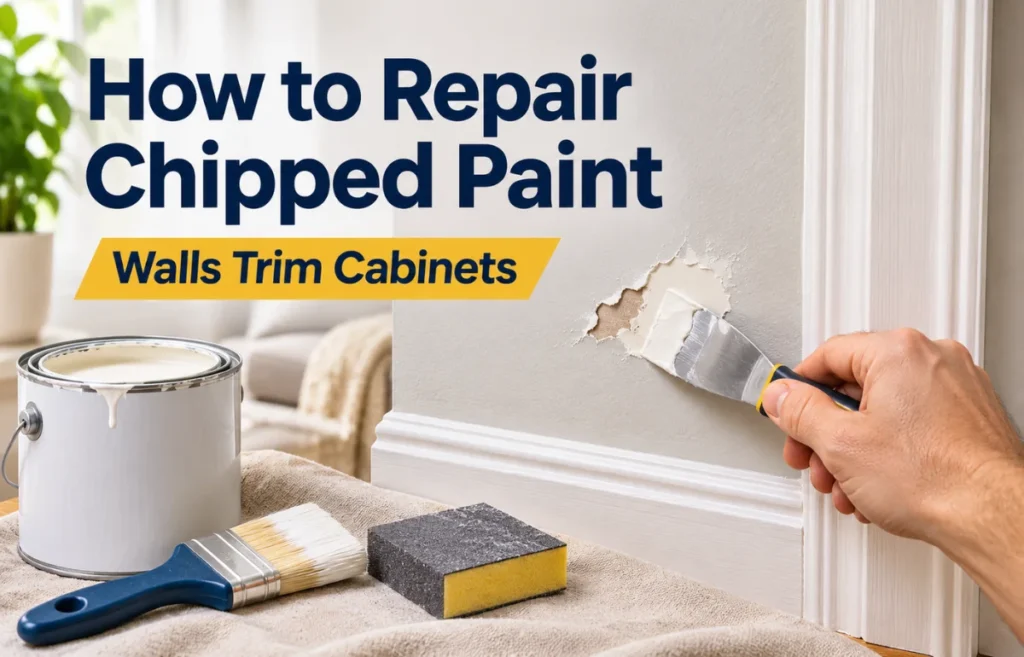
For most household paint chips, I would gather a flexible putty knife, a small scraper, fine-grit sanding sponge, microfiber cloth, mild detergent, appropriate filler, primer, matching paint, and a quality brush or mini roller.
Add a drop cloth, painter’s tape where useful, eye protection, and suitable dust protection.
Choose materials for the surface rather than buying one universal patching product. Indoor wall spackle does not belong on a weather-exposed railing, while heavy wood filler can be unnecessarily difficult to smooth on drywall.
| Surface | Suitable Repair Material | Finishing Consideration |
|---|---|---|
| Painted drywall | Lightweight spackle or joint compound | Prime porous patches; match roller texture |
| Plaster wall | Compatible patching compound | Check for loose plaster before filling |
| Wood trim or door | Paintable wood filler | Spot-prime bare wood; use durable trim paint |
| MDF cabinet edge | Suitable filler and sealing primer | Seal exposed fibers before repainting |
| Metal fixture | Metal-compatible filler if needed | Remove rust; use appropriate metal primer |
| Exterior siding | Exterior-rated patching product | Use a compatible exterior primer and paint |
Check Safety Before Scraping or Sanding
In U.S. homes built before 1978, existing paint may contain lead. Disturbing it can release hazardous dust, even when the damaged area looks small.
The U.S. Environmental Protection Agency recommends lead-safe practices and encourages homeowners to use certified lead-safe contractors for renovation work in older housing. Other countries have their own building histories and rules, so older coatings elsewhere deserve caution too.
If lead paint is possible and its status is unknown, do not begin ordinary dry scraping, sanding, or heat-gun removal. Arrange appropriate testing or consult a qualified lead-safe professional first.
For known non-lead surfaces, protect the floor, ventilate the room, wear eye protection, and control sanding dust. Keep children and pets away from the work area.
Also check for dampness. A leak, condensation, or water-damaged drywall must be addressed and dried before cosmetic repairs. Paint is not a moisture barrier that can rescue a wet wall.
How to Repair Chipped Paint on Interior Walls
This is the method I recommend for a small or medium chip on otherwise sound painted drywall or plaster.
Work patiently at the edges; a rushed repair often leaves a raised patch that catches the light.
1. Clean the Damaged Area
Wipe away fingerprints, dust, and grime using a soft cloth and a little mild soapy water. Avoid soaking exposed drywall paper.
Rinse lightly if needed and let the surface dry completely.
2. Remove Loose Paint and Feather the Edge
Hold a putty knife almost flat against the wall and gently lift only paint that is already detached. Stop when you reach a firmly bonded edge.
Forcing the scraper under sound paint can turn a small chip into a large repair.
On confirmed non-lead paint, lightly sand the rim with a fine-grit sponge until the transition feels less sharp. This is called feathering.
Run a fingertip across the edge: if you can clearly feel a ridge, it may show after painting. Remove the dust with a damp cloth and allow the spot to dry.
3. Fill the Depression, Not the Whole Wall
If the missing paint has left a noticeable recess or the drywall beneath is dented, spread a thin layer of spackle across the damaged spot.
Press it into the depression, then draw the putty knife outward to remove excess. A couple of thin applications are easier to level than one thick mound.
Let the filler dry according to its label, then sand it gently until it is flush with the surrounding finish.
Use a light shining across the wall, not directly at it, to reveal high spots and shallow hollows.
If the chip exposed torn, fuzzy drywall paper, first seal the paper with a primer designed for damaged drywall. Otherwise moisture from filler may cause the paper to bubble.
Once sealed and dry, fill, sand, and prepare to prime again.
4. Prime Exposed or Patched Areas
Fresh filler and bare drywall absorb paint differently from an already painted wall.
A suitable spot primer evens out that absorption and helps prevent a dull patch, often called flashing.
Apply primer only where needed, keeping its edges thin.
Bare wood, metal, stains, and glossy coatings may require specialty primers rather than a general-purpose wall primer. Follow the product instructions for drying and compatibility.
5. Apply Matching Paint in Thin Coats
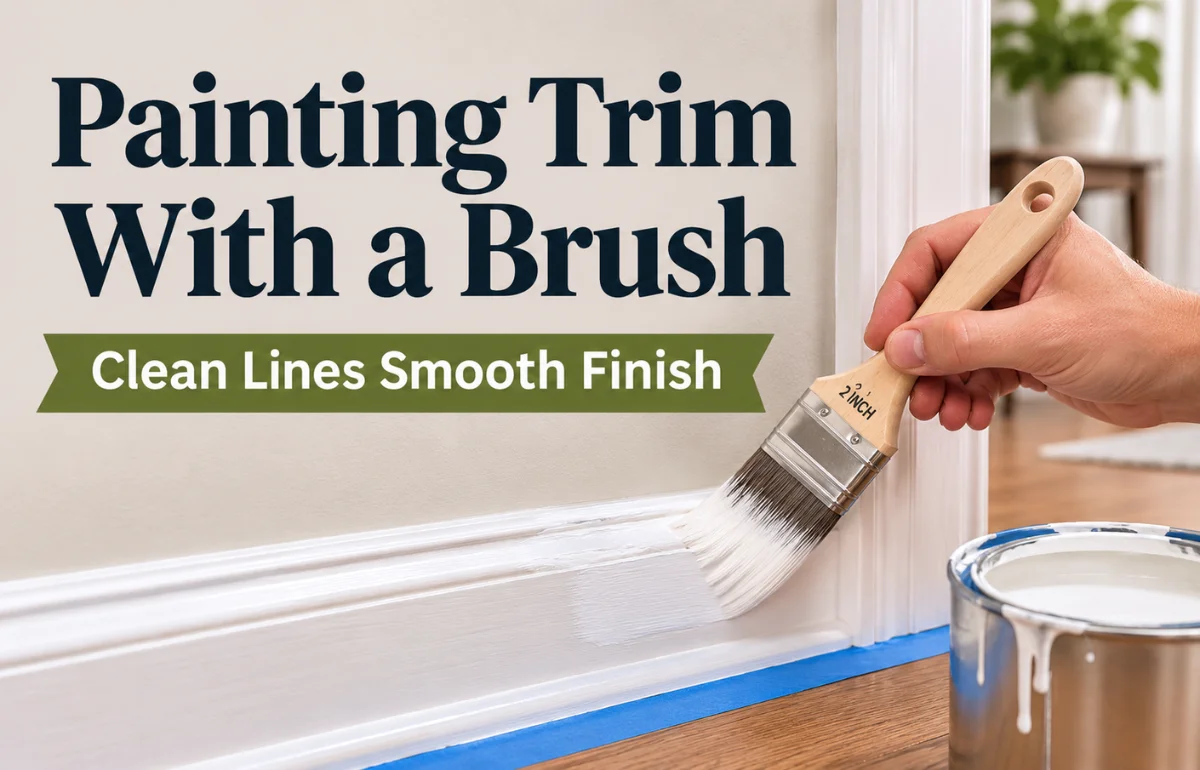
Stir the paint thoroughly. Use a small roller if the wall originally has roller stipple, or a brush if it has a brushed finish.
Place a modest amount of paint over the repaired area, then work lightly toward the edges rather than leaving a thick ring.
Let the first coat dry for the time printed on the can. Apply a second thin coat if the color or coverage remains uneven.
Do not keep brushing paint that has begun to set; it can create visible drag marks and texture changes.
6. Inspect the Result After It Dries
View the repair in both daylight and normal room lighting. Look across the wall from an angle as well as straight on.
A patch that matches head-on may still stand out because its sheen or texture differs.
If the surface is smooth but the finish looks noticeably different, more filler is unlikely to help.
The issue may be paint color, gloss, or application texture. On a large, sunlit wall, repainting from corner to corner may produce a cleaner result than repeatedly enlarging the touch-up.
Repairing Chipped Paint on Trim, Doors, and Cabinets
Wood Baseboards and Interior Doors
Clean the area, remove unstable coating, and gently smooth the edge.
If a chip reaches bare wood or leaves a dent, use a paintable wood filler suited to the repair. Allow it to harden, sand flush, and prime exposed wood before applying matching trim paint.
Work with the direction of the wood grain when sanding. Keep filler out of moving joints, where it may crack.
If the chip sits near a door latch or hinge, check whether repeated contact is causing it; adjusting the hardware may prevent another repair next month.
Cabinets and Painted Furniture
Kitchen cabinets collect grease that ordinary dusting misses. Wash the damaged area with a cleaner suitable for the finish, rinse away residue, and let it dry.
Scuff a sound glossy surface only as recommended for the primer and coating system, and avoid sanding through thin veneer.
For chipped MDF, exposed fibers can swell when they absorb moisture.
Seal the damaged edge with a suitable primer or sealer, then use compatible filler if leveling is necessary. Sand carefully, prime the repair, and finish with a cabinet or furniture coating designed for regular handling.
Cabinet doors need more curing time before heavy use than a wall needs before being touched.
Follow the coating’s cure guidance before cleaning aggressively, rehanging hardware, or allowing doors to bang shut.
Small Chips on Metal
If a painted metal fixture has rust beneath a chip, remove the corrosion by a method appropriate to the item before applying a compatible rust-inhibiting primer.
Finish with paint made for that metal and its conditions. Ordinary wall spackle and interior latex wall paint are not substitutes for a metal coating system.
How to Fix Chipped Exterior Paint
Outdoor repairs must survive sunlight, rain, temperature changes, and movement in the material underneath.
Start by checking for rotten wood, failing caulk, corrosion, or trapped moisture. Repair those problems before covering the surface.
On a confirmed lead-safe surface, scrape away loose coating, feather sound edges, and clean off dirt or chalky residue.
Use an exterior-rated filler where necessary, allow it to dry, and prime bare or patched areas with a product compatible with both the substrate and finish coat.
Paint only within the manufacturer’s recommended temperature and humidity range, and allow the specified rain-free drying period.
Don’t assume that a surface feeling dry to the touch means the coating is ready for rain.
If flaking extends across a whole section of siding, patching individual chips may be less durable and less attractive than preparing and repainting that section.
How to Match Paint Without Leaving a Visible Patch
Finding the right color is only half the task. Paint sheen, age, surface texture, and the tool used for application all influence whether a touch-up disappears.
If you saved the original can, check the product name, color formula, and sheen.
Stir it well and test a small area first if the paint is still in good condition. Old paint that has spoiled, dried into lumps, or separated beyond proper mixing is not worth using.
Without leftover paint, bring a reliable sample to a paint store for color matching. A loose chip can work if it represents the clean, unfaded finish.
Test the new paint and judge it only after it has dried; wet paint can look misleadingly light or dark.
Flat and matte finishes typically hide localized touch-ups better than satin or semigloss.
With shinier paint, even an exact color match may look like a different patch because fresh gloss reflects light differently from the surrounding aged finish.
I use a simple decision rule: if the repaired spot is small and away from a strong light source, try a carefully feathered touch-up.
If it sits in the middle of a long, glossy wall or on a prominent cabinet door, consider coating the whole visible panel.
Natural breaks such as corners, trim edges, and cabinet-door boundaries help disguise slight differences.
| Situation | Better Approach | Why |
|---|---|---|
| Tiny chip with matching leftover paint | Local touch-up | Minimal disruption and good blending potential |
| Deep chip with exposed drywall | Fill, prime, then touch up | Restores level surface and even absorption |
| Several chips on one cabinet door | Repaint the entire door face | Avoids a collection of visible paint spots |
| Broad peeling or recurring flaking | Correct cause and remove failed coating | New paint cannot secure an unstable layer |
| Large wall with a shiny or faded finish | Repaint wall from corner to corner | Produces more consistent sheen and color |
Mistakes That Make Paint Chips Reappear
Painting over loose edges is the most common shortcut to avoid.
The fresh coating may look fine at first, but it cannot hold down material that has already lost adhesion.
Applying filler too thickly creates another problem: shrinking, cracking, or a raised hump.
Thin coats, adequate drying, and gentle sanding give a flatter result. Likewise, skipping primer on porous filler may leave a dull halo even when the topcoat matches perfectly.
Finally, avoid judging the finish while it’s wet.
Let it dry, check it in ordinary light, and then decide whether another coat or a larger repaint is needed.
Preventing Future Chips
Keep furniture from striking walls by adding discreet bumpers or leaving a little clearance.
Use doorstops where handles hit painted surfaces, and fix loose hinges that make doors rub their frames. These small changes remove the cause of many repeat chips.
When repainting, clean and prepare the surface thoroughly, choose a primer when the material requires it, and use a durable finish suited to traffic and moisture.
Let the coating cure before hard use.
Save a labeled sample of the paint with the room, brand, product, color, sheen, and date for future repairs.
A Repair Worth Doing Once
Learning how to repair chipped paint is less about covering a blemish and more about creating a sound, smooth base for the next coat.
Start by checking why the paint failed, choose materials that suit the surface, and take care with the edge, primer, and finish.
For your next chip, inspect it in good light before buying anything. That quick check will tell you whether a small touch-up will do or whether a more complete repair will last longer.
Frequently Asked Questions
Can I paint directly over chipped paint?
Only if the remaining paint is firmly attached and the surface is level. Remove loose edges, fill deeper chips, and prime exposed material before repainting.
Do I need to sand chipped paint before touching it up?
Usually, light feathering helps hide the edge on confirmed non-lead paint. Do not sand suspected lead-based coatings without appropriate lead-safe assessment and controls.
What is the best filler for chipped paint on a wall?
Lightweight spackle works for many small drywall dents. Use a compatible patching compound for deeper damage, and seal torn drywall paper before filling.
Why does my paint touch-up look darker or shinier?
The new paint may differ in sheen, batch, age, or application texture. Let it dry fully, then consider repainting the entire visible wall or panel.
Can I fix chipped paint without repainting the whole wall?
Yes, small stable chips often blend well with matching paint and careful preparation. Large, glossy, or faded areas are harder to disguise with a local touch-up.