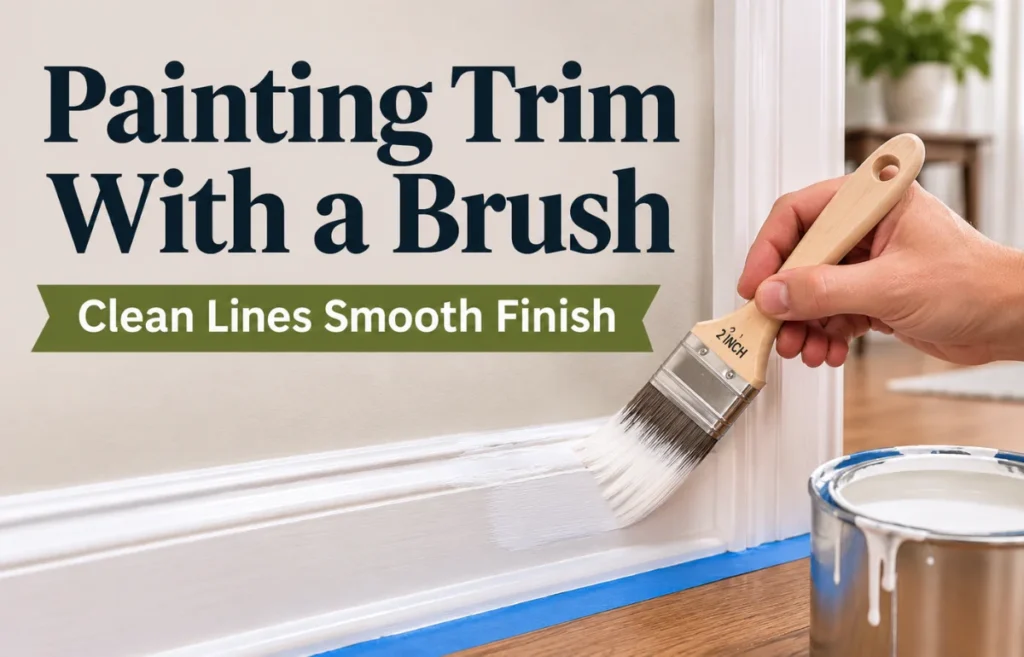
Painting Trim With a Brush means applying paint by hand to narrow architectural details such as baseboards, door frames, window casings, and crown molding. Instead of spraying or rolling the entire surface, I use an appropriately sized brush to control where the paint goes, work it into corners, and smooth it along the trim. The goal is a consistent finish with crisp edges, even coverage, and as few visible brush marks as possible.
Good results depend less on painting quickly than on cleaning and preparing the surface, choosing compatible paint, and knowing when to stop brushing. Here is how I would approach the job, including the small decisions that make a noticeable difference once the paint dries.
Why Paint Trim With a Brush Instead of a Roller or Sprayer?
For most occupied rooms, I consider brushing the most practical option. It requires little setup, reaches narrow profiles, and gives me direct control beside flooring, glass, and finished walls. A roller may cover a wide, flat baseboard faster, but it cannot neatly finish every corner or molded edge. Spraying can produce a very smooth surface, yet masking, ventilation, and overspray control add work.
Brushing is not automatically slower. On a single doorway or a few lengths of baseboard, the time saved on preparation and cleanup can outweigh the time spent applying paint.
Choosing the Right Brush and Supplies
I would start with a good 2-inch angled sash brush for general interior trim. A 1½-inch brush is more comfortable around narrow window grids or detailed molding; a 2½-inch brush suits broad, flat trim.
For water-based acrylic or waterborne alkyd paint, synthetic nylon/polyester bristles are a dependable choice. I avoid cheap brushes that shed hairs or leave deep tracks in the finish.
| Brush or tool | Best use | What to watch for |
|---|---|---|
| 1½-inch angled brush | Narrow profiles and window details | Slower on broad boards |
| 2-inch angled brush | Most baseboards and door casings | Don’t overload the tips |
| 2½-inch angled brush | Wide, relatively flat trim | Less precise in tight corners |
| Mini roller | Long, flat sections before brushing edges | Texture may differ from brushed areas |
I also keep a small paint pail, stir stick, quality painter’s tape, drop cloth, mild cleaner, flexible filler, paintable caulk, fine abrasive paper, a sanding sponge, and a clean cloth within reach.
Which Paint and Finish Work Best on Trim?
For Painting Trim With a Brush, I look for a product specifically labeled for interior trim, doors, or cabinetry rather than assuming ordinary wall paint will perform the same way. A durable acrylic enamel or waterborne alkyd trim paint is often a sensible choice because these products are formulated to level and form a tougher film.
Sheen affects both appearance and how obvious imperfections become. I use the surrounding decor and the condition of the woodwork to decide.
| Finish | Appearance | Practical consideration |
|---|---|---|
| Satin | Soft, restrained sheen | More forgiving of small surface flaws |
| Semi-gloss | Noticeable shine and definition | Popular balance of cleanability and visual contrast |
| High-gloss | Reflective, polished look | Highlights dents, uneven filling, and brush marks |
I generally prefer satin for older, slightly imperfect molding and semi-gloss for a more traditional, defined outline. Whatever I choose, I check the label for recommended primer, application temperature, recoat time, and thinning restrictions.
Preparing Trim Before Painting
I spend time here because a clean, sound base makes the actual painting much more predictable.
Clean Off Dust, Grease, and Residue
First, I would vacuum corners and the top edges of baseboards. Then I would wipe the trim with a mild cleaning solution appropriate for the existing finish, rinse away residue if required, and let everything dry.
Fill Damage and Caulk the Right Gaps
I treat dents and nail holes differently from joints. A suitable wood filler or patching compound belongs in holes and surface defects; flexible, paintable acrylic caulk belongs in small gaps where molding meets the wall. After filler dries, I sand it level.
I do not caulk joints that are supposed to move, drain, or allow a window or door to function. I also check the caulk’s label before painting; “paintable” does not mean every product can be coated immediately.
Scuff-Sand Glossy Trim and Remove the Dust
On sound, previously painted trim, my aim is usually to dull the sheen rather than strip every old layer. Fine abrasive paper or a sanding sponge can help new paint grip, provided the existing coating is safe to disturb. I keep the pressure light around decorative profiles so I do not round over their sharp details.
After sanding, I vacuum and wipe away dust.
Prime Where the Surface Needs It
Bare wood, fresh filler, stained patches, and some glossy or questionable existing finishes may require an appropriate primer. I also consider a stain-blocking primer where knots or discoloration could bleed through. On intact, clean, compatible previously painted trim, a separate full primer coat may not always be necessary; the paint’s instructions should decide that.
Safety note: In a U.S. home built before 1978, old coatings may contain lead. I would not sand or scrape suspect paint without first addressing that risk. The EPA recommends lead-safe certified contractors for renovation work that may disturb lead paint.
How to Paint Trim With a Brush for a Smooth Finish
1. Set Up a Small Working Area
I protect the floor, remove hardware when practical, and stir the paint thoroughly. Instead of working from a full can, I pour a manageable amount into a paint pail.
I also position a light so it shines across the molding rather than straight at it. Raking light shows missed spots, heavy edges, and drips before they harden.
2. Load the Bristles Without Flooding Them
I dip only the lower portion of the bristles into the paint and gently tap or wipe off the excess against the pail’s inside edge. I want the brush loaded enough to glide, not so full that paint collects at the base of the bristles and spills into corners.
Finding that middle ground is one of the simplest ways to reduce brush marks.
3. Paint a Manageable Section Along the Grain
On wood trim, I brush in the direction of the grain or along the length of the molding. I spread paint over a short section, typically a few feet rather than an entire wall, adjusting for how quickly the coating sets. I cover grooves and edges first, then the broader face, so paint does not build up unexpectedly in the details.
On horizontal baseboards, I avoid brushing so forcefully that paint is pushed onto the floor or into a caulked seam.
4. Finish With Long, Light Strokes
Once the paint is evenly distributed, I make a light finishing pass along the length of the wet section. I do not press hard or keep returning to the same spot.
The timing is crucial. If paint has started to become tacky, another stroke may drag it into ridges rather than smooth it.
5. Keep a Wet Edge and Check for Drips
I overlap each new section slightly into the still-wet previous section. That avoids a visible boundary where one patch dried before the next was painted. Around grooves, inside corners, and the underside of trim, I pause briefly to look for sagging paint.
Adjusting the Technique for Different Trim
Baseboards
Baseboards collect grit, so cleaning the top edge and the seam near the floor matters. I would paint the upper edge carefully, cover the face, and finish with horizontal strokes.
Door Frames and Jambs
Door casings have long vertical runs and exposed corners. I paint the recessed areas first and then smooth the visible faces. On door stops and jambs, I use thin coats: a thick paint film can make a door rub or stick when closed.
Window Casings and Sills
I choose a smaller angled brush around narrow edges and glazing. I protect glass, moving tracks, seals, and hardware. I avoid bridging a moving joint with fresh paint, and I keep the window operable while the coating dries.
Crown Molding and Decorative Profiles
On crown molding, I begin with the recessed lines where paint is most likely to pool, then finish the wider surfaces with lighter strokes. I work in short sections to maintain control overhead.
How to Avoid Visible Brush Marks
With Painting Trim With a Brush, I look at three causes of visible strokes before blaming the paint: brush quality, film thickness, and overworking. A soft, well-made brush leaves finer tracks; a moderately loaded brush spreads paint more evenly; and fewer finishing passes give the coating a chance to level.
Room conditions also matter. Strong airflow, direct heat, or very warm surfaces can shorten working time. I follow the product’s temperature and ventilation guidance, and I never add water or another thinner unless the label permits it.
If the first coat dries with tiny dust nibs or slight ridges, I wait until it is ready for recoating, lightly smooth the flaws where permitted, remove all dust, and apply a thin second coat. I judge the finish once it has dried, not while the wet surface is still glossy.
Should You Use Painter’s Tape or Cut In Freehand?
I use tape when working next to a finished wall, delicate flooring edge, or glass, especially if the line is long. The tape needs to be compatible with the surface, pressed down cleanly, and removed according to its instructions. On freshly painted walls, I check that the paint has cured enough for masking; otherwise, tape can lift the wall finish.
For a full-room repaint, the sequence can vary: painting trim first makes later wall cutting-in straightforward, while painting walls first avoids roller splatter on newly finished trim. I choose the order based on which surface is easier to protect.
Common Problems and How I Would Fix Them
Streaks or Obvious Brush Ridges
These usually point to heavy pressure, uneven loading, or repeated brushing as paint begins to set. I allow the coat to dry, smooth the raised marks if the product allows, and recoat with a lighter touch.
Drips and Thick Corners
Paint tends to gather at profile changes, inside corners, and the underside of horizontal trim. I remove excess while it is wet with a lightly loaded brush. Once a drip hardens, I level it carefully before repainting instead of burying it under another thick coat.
Paint Peeling or Scratching Off Easily
Poor adhesion often starts with grease, dust, incompatible coatings, or insufficient preparation. I check the underlying surface before repainting.
Doors and Windows Sticking
A surface can be dry to the touch without being ready for pressure or friction. I leave moving parts open when safe and practical, avoid thick coats at contact points, and follow the coating’s cure and return-to-service instructions. Benjamin Moore describes this as paint blocking.
Drying, Second Coats, and Final Inspection
I never assume every trim enamel has the same drying schedule. Water-based products can feel dry relatively quickly, while some waterborne alkyd finishes need substantially longer between coats. I follow the exact label for recoat and full cure times.
After the final coat, I check the trim in daylight and with a side light. I look for missed inside edges, thin coverage around corners, and paint on adjacent surfaces.
Small Details That Make a Big Difference
I like to think of each molding run as having three zones: the edge against the wall, the decorative profile, and the broad visible face. Each zone needs a slightly different brush angle, but the face gets the last uninterrupted finishing pass. This keeps my hand from repeatedly crossing a surface I have already smoothed.
I also test the complete system on an inconspicuous area: cleaning, primer if needed, and topcoat. Once it dries, I can judge adhesion, sheen, and brush texture under the actual room lighting. That small trial is especially useful when repainting unknown old trim or switching from a glossy finish to a softer one.
Cleaning Brushes and Caring for Freshly Painted Trim
I clean brushes using the method recommended for the coating: typically soap and water for water-based paint, or the specified solvent for solvent-based finishes. I rinse thoroughly, reshape the bristles, and let the brush dry in a way that preserves its tip. I never pour paint or solvent waste into drains unless local disposal guidance explicitly allows it.
For the finished trim, I avoid vigorous scrubbing, adhesive hooks, and repeated door contact until the paint has cured.
Frequently Asked Questions
What is the best brush for painting trim?
I recommend a quality 1½- to 2½-inch angled sash brush, with synthetic bristles for most water-based trim paints.
How do I paint trim without leaving brush marks?
I use thin, even coats, keep a wet edge, finish with long light strokes, and avoid brushing paint once it becomes tacky.
Do I need to sand trim before painting?
Glossy or rough trim usually benefits from careful preparation, but sanding depends on the existing coating; suspect lead paint needs special precautions.
Is satin or semi-gloss better for trim?
I favor satin for a softer look and semi-gloss when I want stronger definition and a more reflective, easy-to-wipe finish.
How many coats of paint should I put on trim?
Two thin finish coats are common, but coverage, color change, primer, and the product instructions determine what is actually needed.
Final Thoughts
Painting Trim With a Brush can give baseboards, doors, and window frames a crisp, refreshed appearance without the equipment or masking required for spraying. My priority would be to prepare the surface thoroughly, choose a brush and paint that work together, and finish each wet section with a light, controlled pass. Start with one short, inconspicuous stretch of trim, check it after drying, and use that result to fine-tune the rest of the room.